Windows: Projecting Screen via Display Cables
Devices which support a display connection allows you to project your laptop screen to a larger screen. Provided that you have already setup, this article demonstrates how to configure projection via Windows.
1. Adjusting Projection style
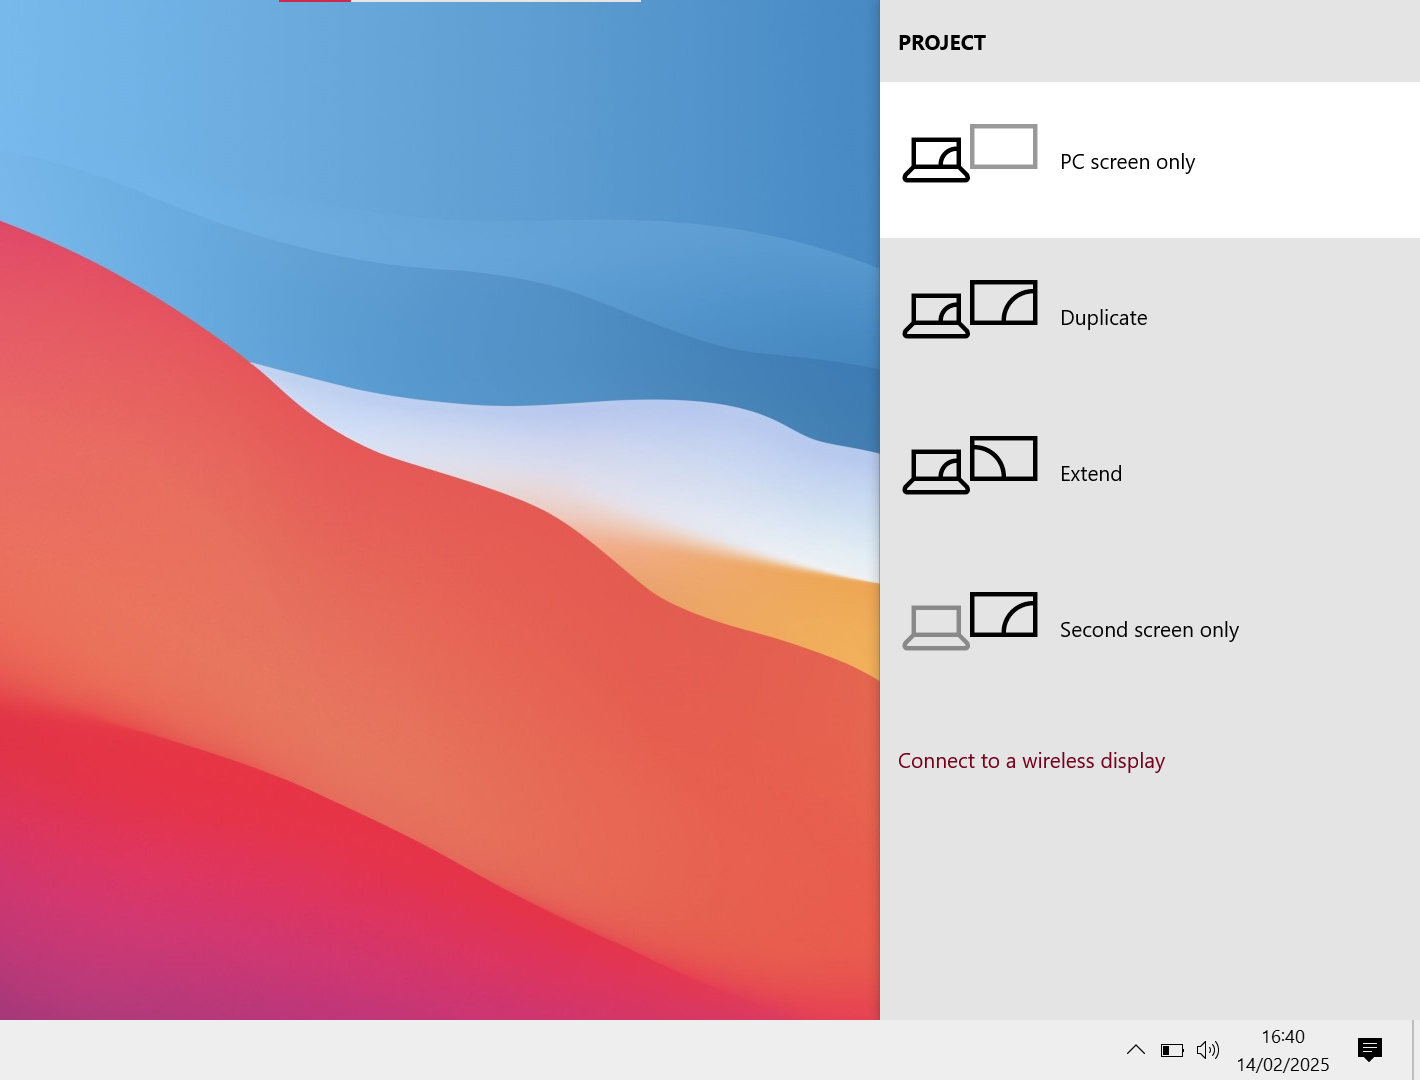
Press the Windows key + P. A series of different projecting styles should pop up.
PC screen only = This stops the projection to the Secondary screen but keeps your screen working.
Duplicate = Whatever is seen on the PC screen will exactly display on the Secondary screen.
Extend = Whatever is seen on the PC screen is kept on the PC screen. Secondary screen is an extension of the PC screen but not duplicate.
Second screen Only = This Keeps the projection to the Secondary screen but stops your screen displaying.
Depending on your needs you can adjust the style.
2. Display Settings
1. You can drag the boxes which corresponds to the Monitors you have connected. This might come in handy if you are dragging your mouse to the wrong Connor of the screen to access the other monitor screen.
2. Identify shows a number on each screen. This helps you to identify which monitor needs moving to the correct order.
3. Select a screen (Box) which isn't currently the main screen then select " Make this my main display". Handy if you want make a monitor the central monitor for you work.

No Comments