How to Add a Shared Mailbox (Outlook Web App)
Step 2: Open Shared Mailbox
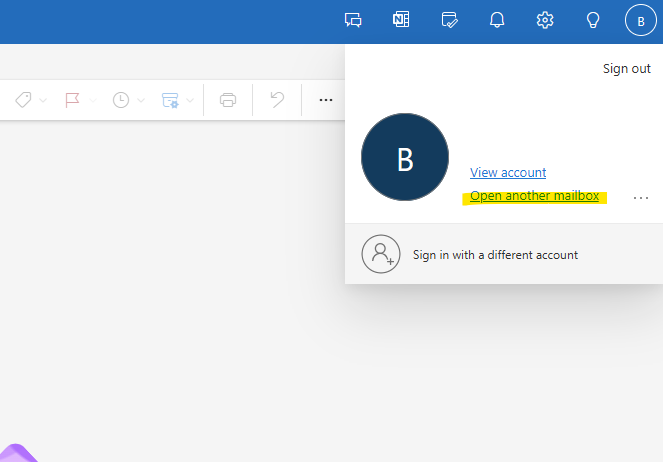
- Click on your profile picture or initials in the top-right corner.
- Select Open another mailbox.
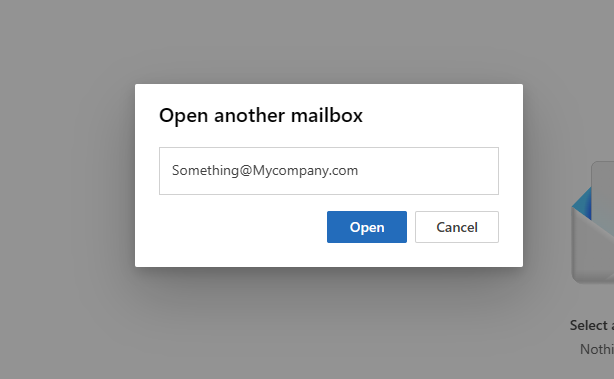
- Enter the email address of the shared mailbox and click Open.
- The shared mailbox will open in a new tab.
Step 3: Add Shared Mailbox to Folder List
- Right-click Folders in the left navigation pane.
- Select Add shared folder.
- Enter the email address of the shared mailbox and click Add.
1. Open Outlook Web App
Navigate to the Office 365 portal (https://outlook.office365.com) and log in with your credentials.
2. Open Shared Mailbox
Click on your profile picture or initials in the top-right corner, Select Open another mailbox. Lastly Enter the email address of the shared mailbox and click Open. The shared mailbox will open in a new tab.
3. Add Shared Mailbox to Folder List
4. Submit the Code
Type in the code and click Submit to initiate the remote session.

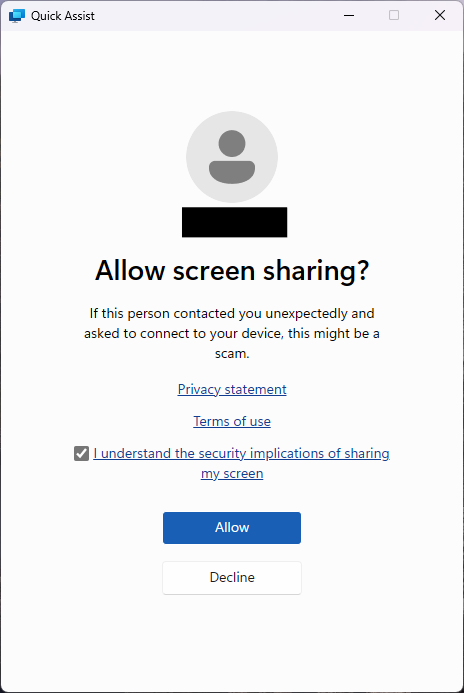
5. Accept the Remote Session
Quick Assist will go through a brief loading screen, followed by a prompt with a checkbox. Tick the box and click Accept to confirm the remote session.
6. Grant Control to the Support Engineer
Finally, your support engineer will request control of your machine. A toolbar will appear at the top of your screen. Click Allow to grant them control.
