Control Panel: Microphone Settings
What will be covered:
- How to test if my microphone is working.
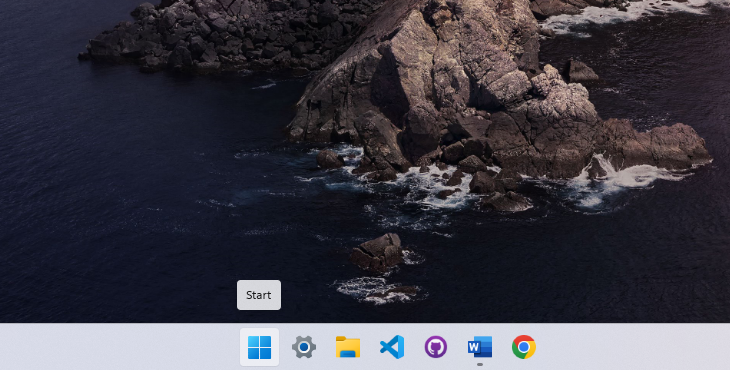
1. Open the Start Menu
Press the Windows key on your keyboard to bring up the Start Menu.
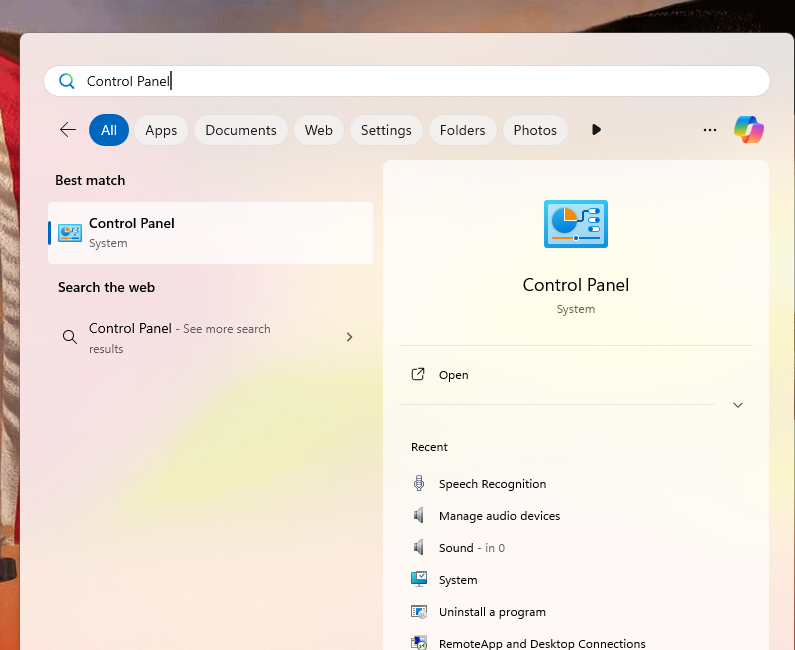
2. Search for QuickControl AssistPanel
Type QuickControl AssistPanel in the search bar, then press Enter to open it.
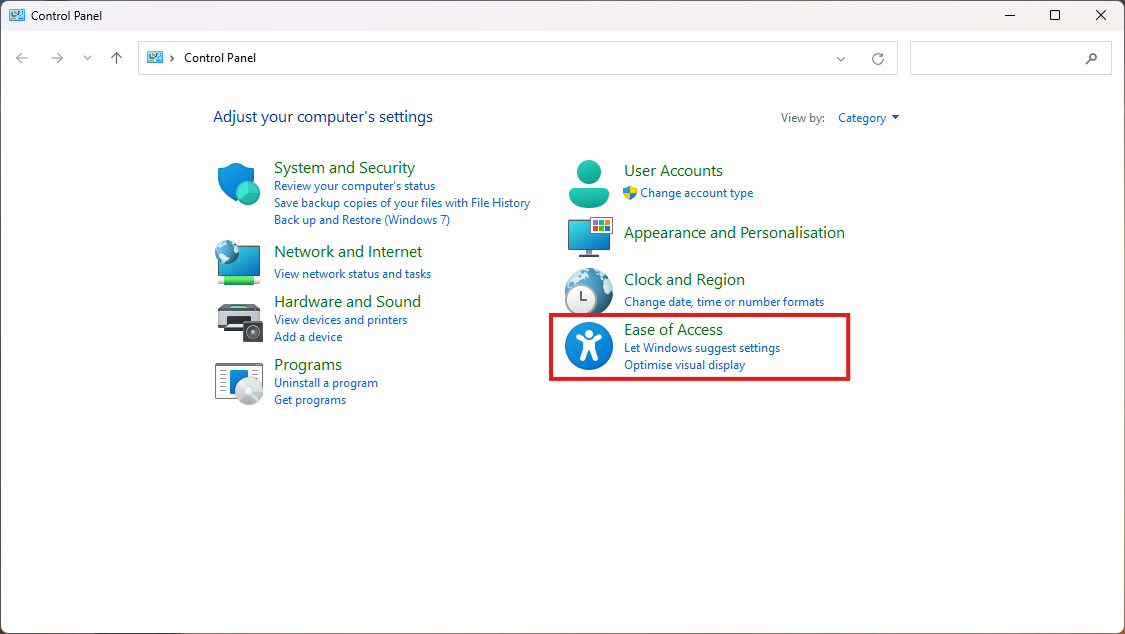
3. EnterOpen theEase Supportof CodeAccess Tab
Once Control Panel has opened, Locate the QuickEase Assistof windowaccess appears, you’ll see a prompt asking for a code. Your IT support engineer will provide this code.tab.
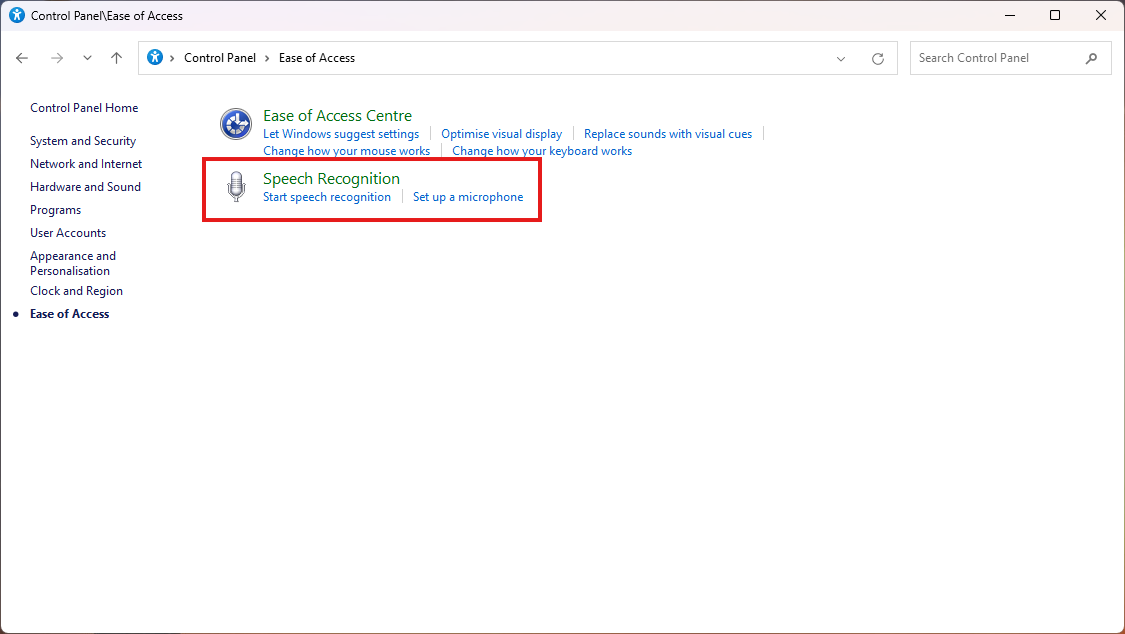
4. SubmitOpen theSpeech CodeRecognition
TypeClick in"Speech the code and click SubmitRecognition" to initiate the remote session.
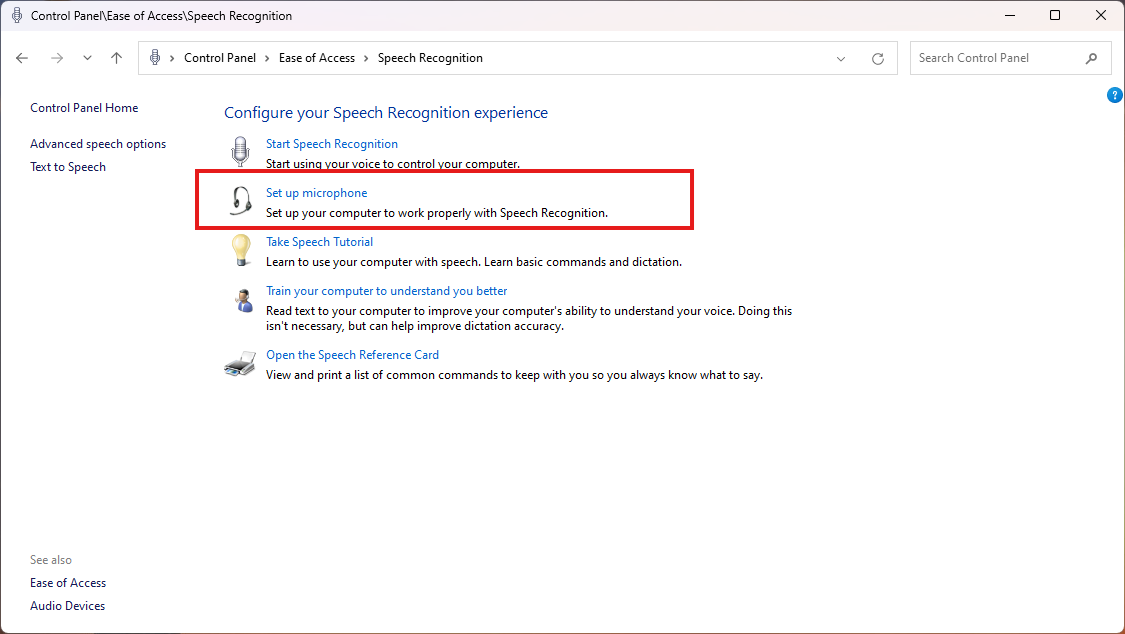
5. AcceptSet theup Remote SessionMicrophone
Quick Assist will go through a brief loading screen, followed by a prompt with a checkbox. Tick the box and clickClick Accept"Set up Microphone" to confirm the remote session.
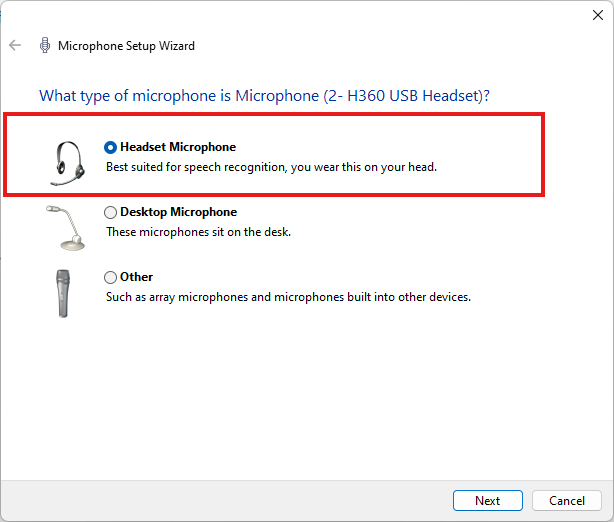
6. GrantMicrophone ControlDevice
Windows will auto-detect the microphone you have connected to the Supportcomputer. Engineer
Finally, your support engineer will request control of your machine. A toolbar will appear atSelect the toprelevant ofMicrophone your screen. Click Allow to grant them control.
device.
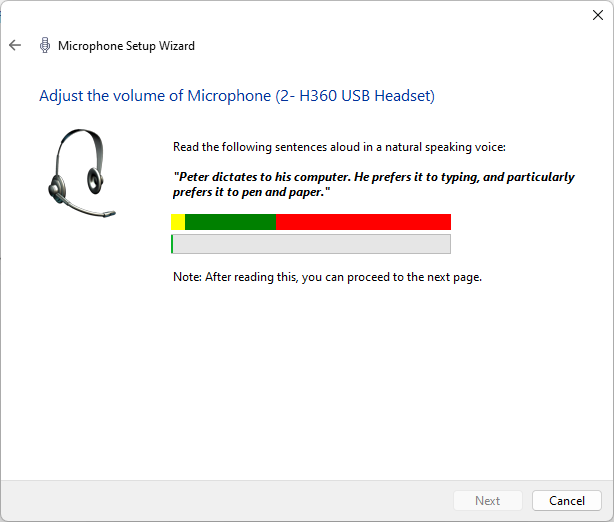
7. Test Audio Input
Now test the microphone. the sound level bar should go up and down based on your voice frequency picked up by the microphone. Red: Too loud, Green: Good Sound Level, Yellow: Quite. If you aren't any getting audio input the sound level would stay still at the bottom.