How to Set Up an Email Account on Outlook for Android
Follow these steps to download Outlook on your Android phone and set up your email account.
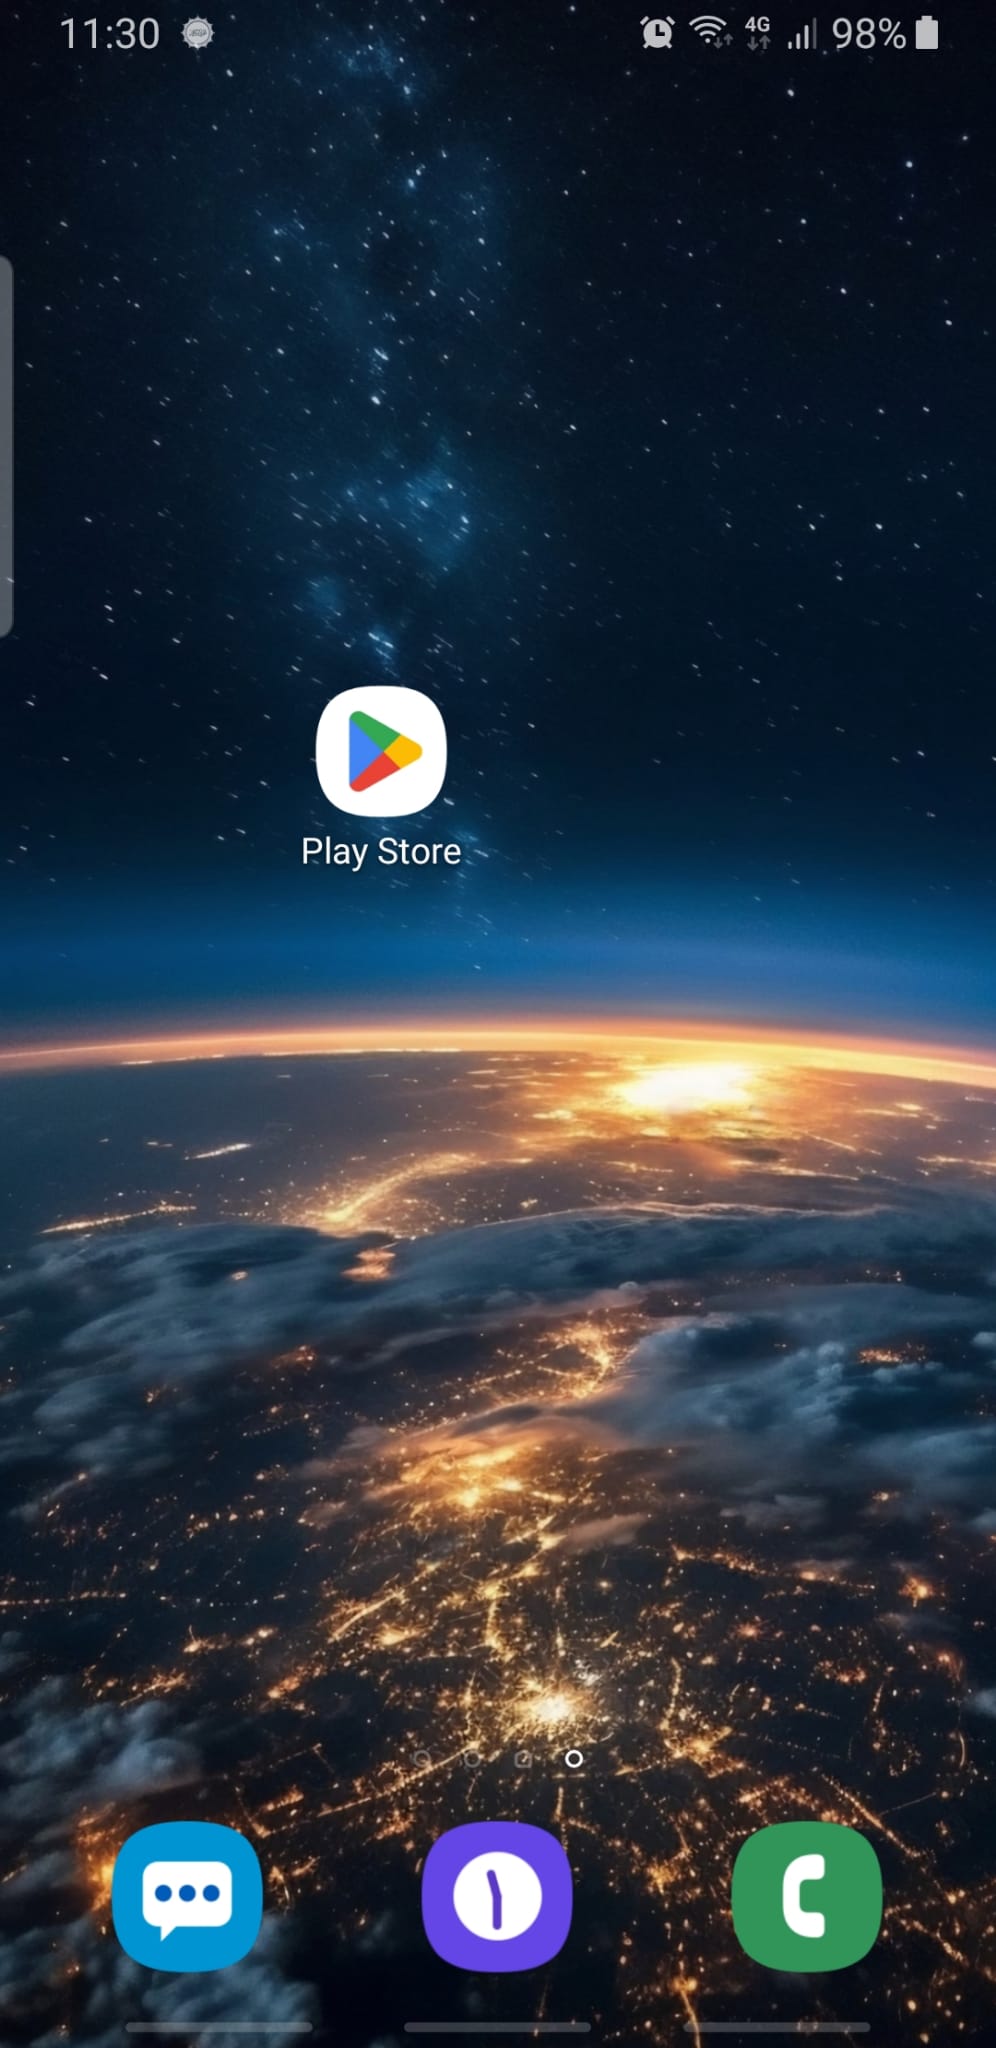
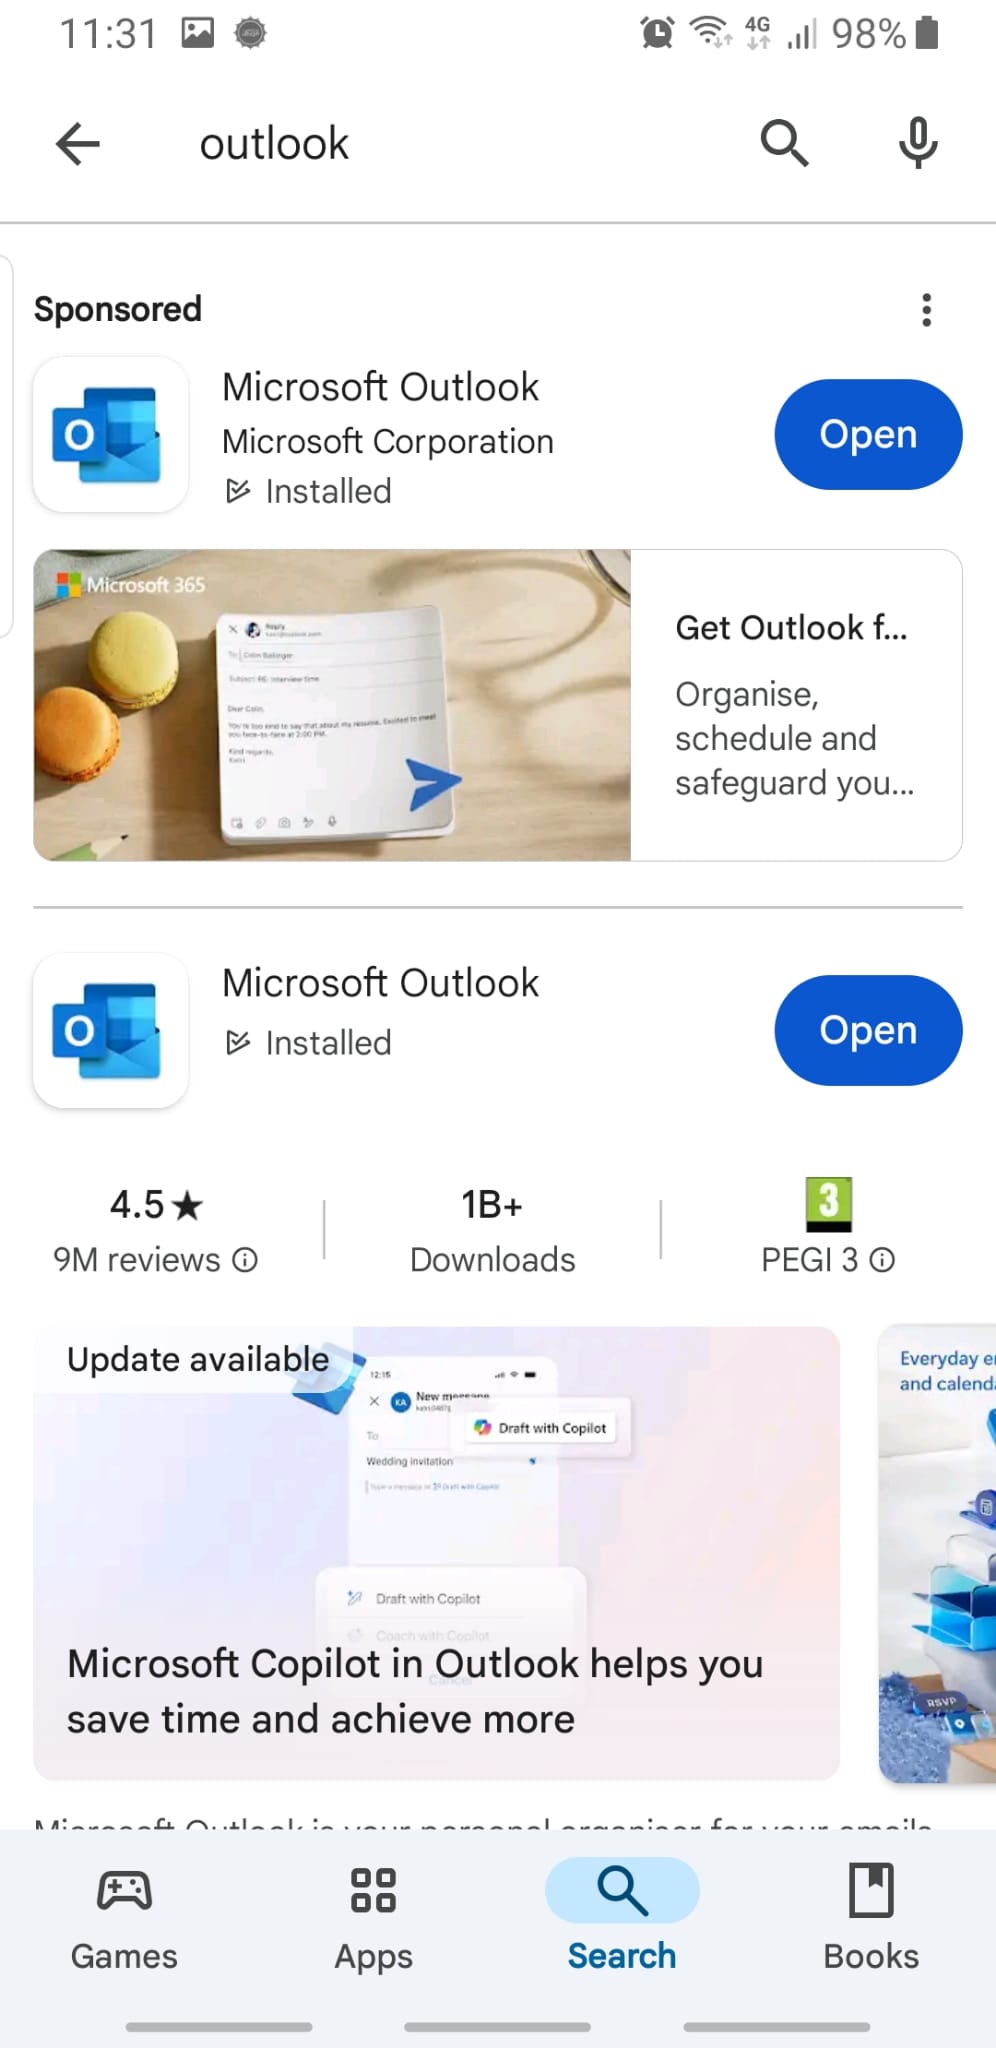
1. Download the Outlook App
- Instructions: Open the Google Play Store on your Android device.

- Action: Tap on the Microsoft Outlook app and then tap Install.
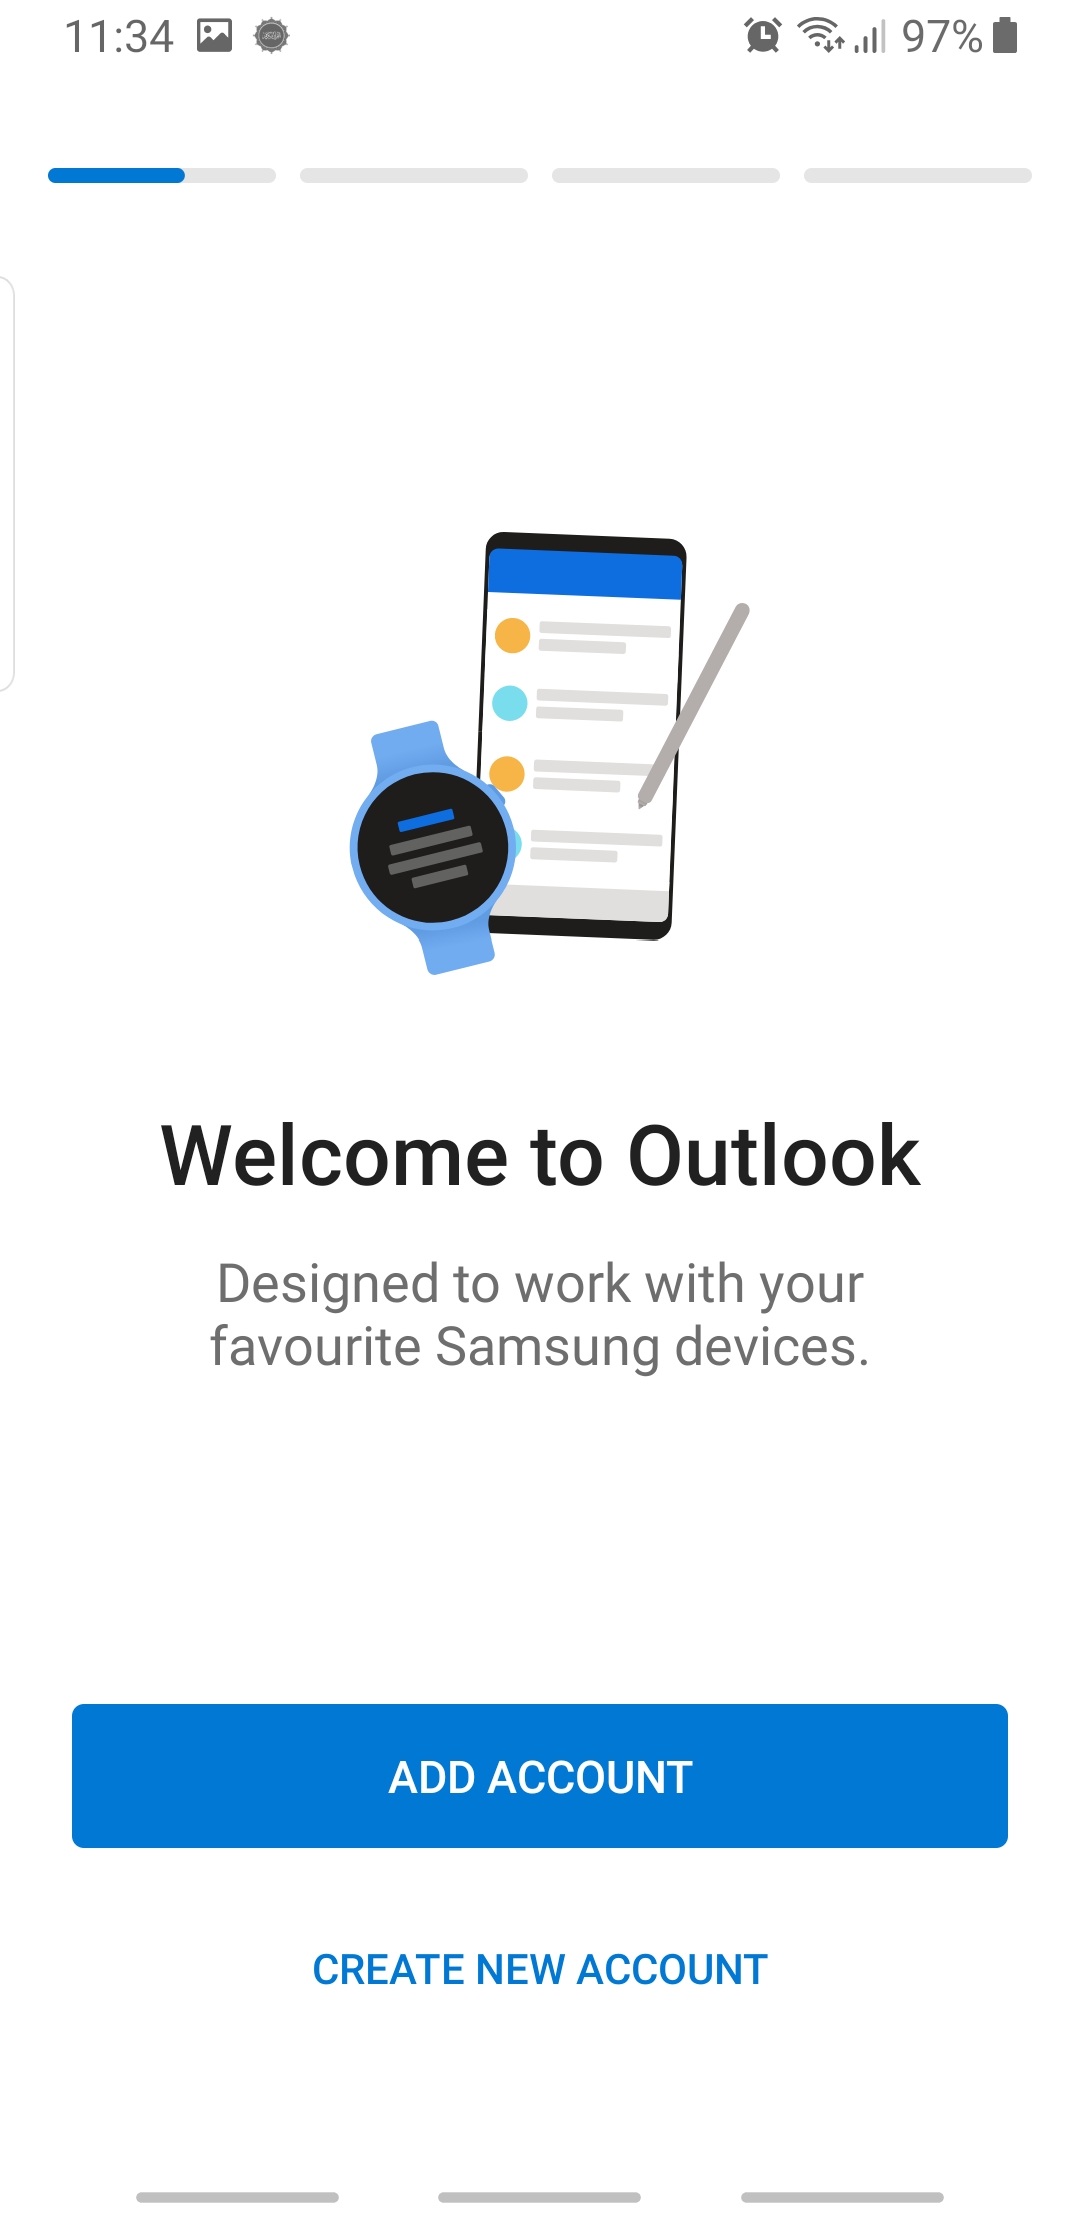
2. Open the Outlook App
- Instructions: Once Outlook is installed, tap Open to launch it.

3. Get Started with Outlook
- Instructions: When Outlook opens for the first time, tap Get Started.

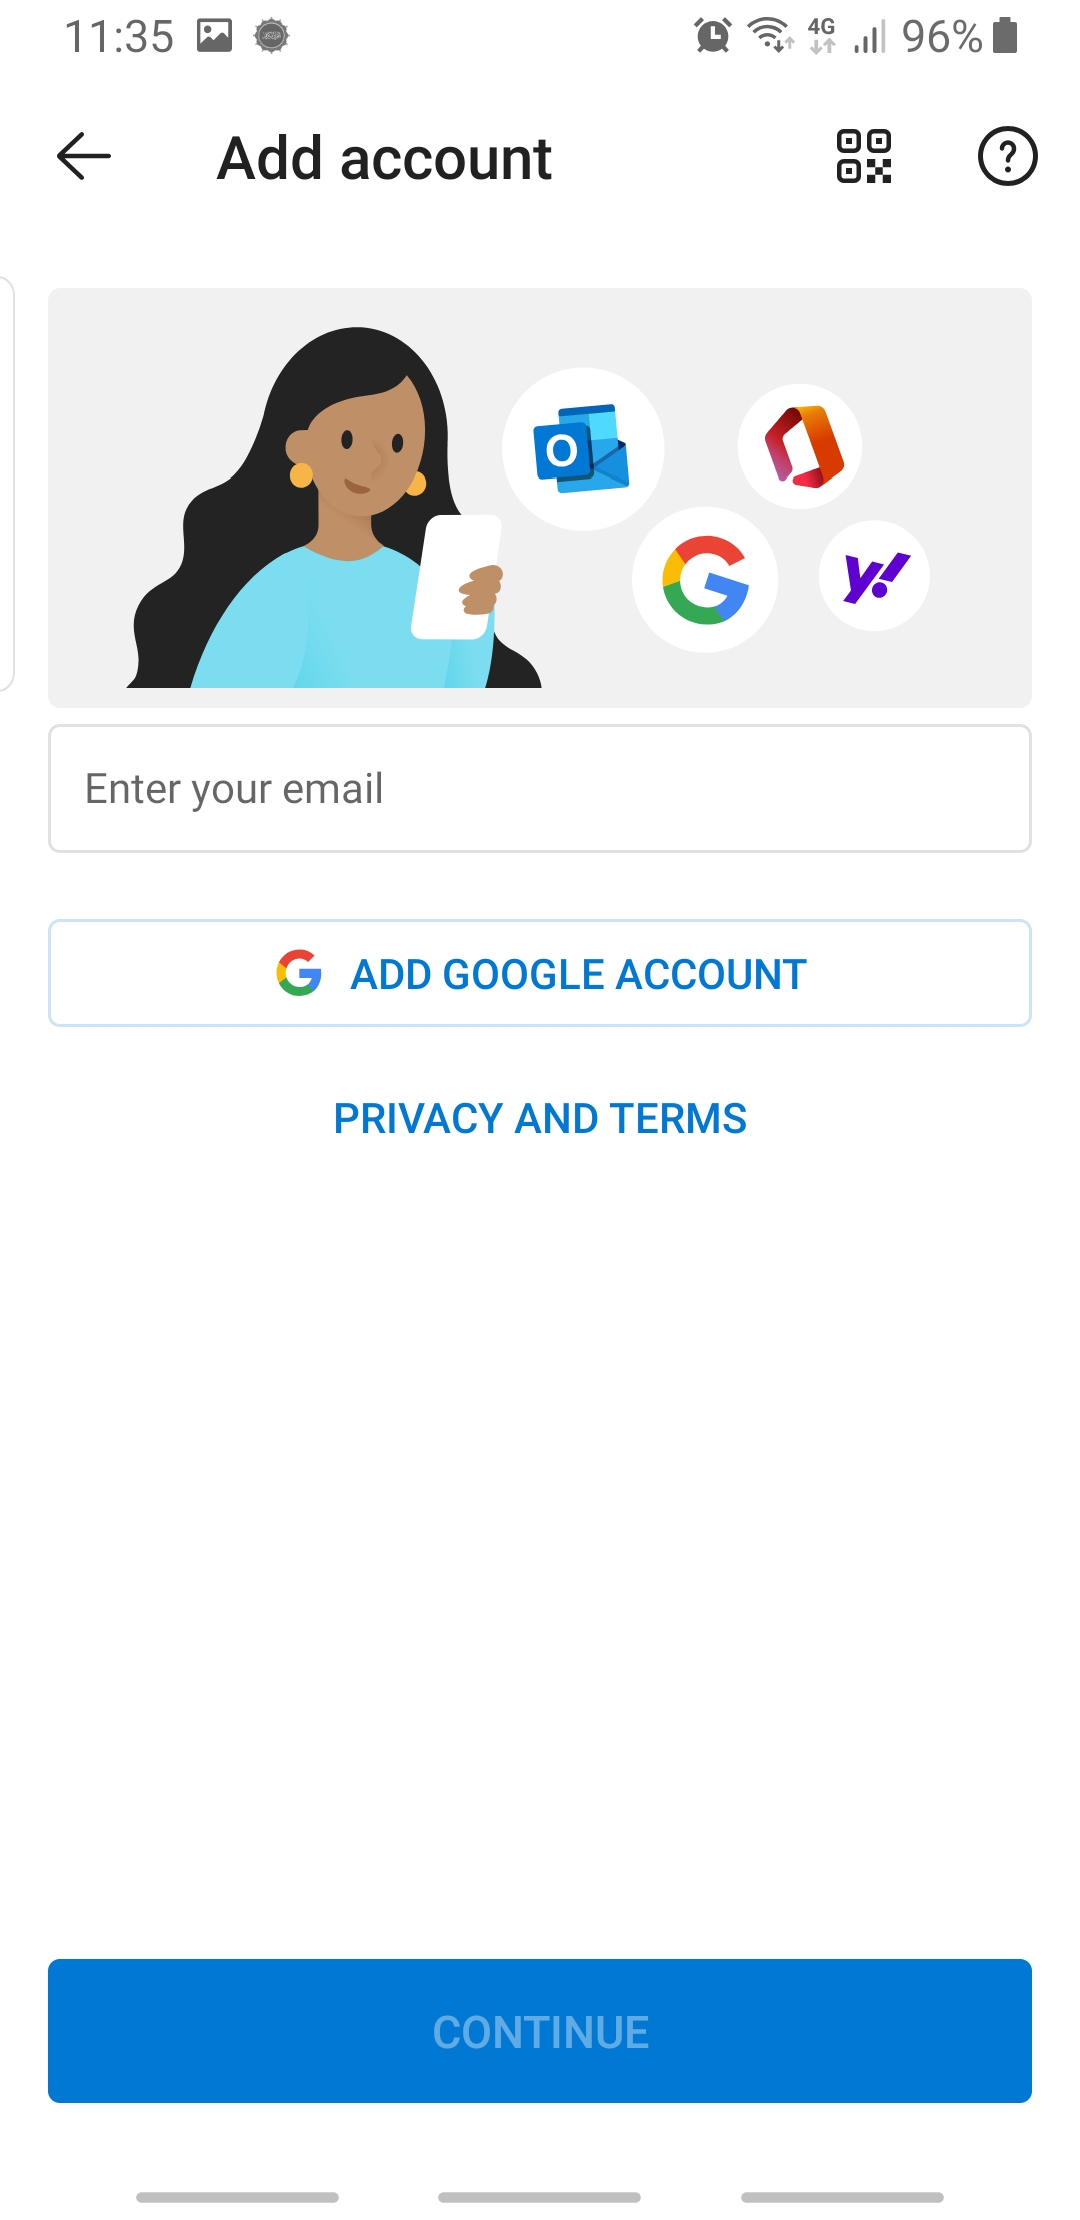
4. Add Your Email Address
- Instructions: Enter your email address in the provided field and tap Continue.

5. Enter Your Password
- Instructions: You’ll be prompted to enter your email password. Type in your password and tap Sign In.
6. Approve Permissions (if prompted)
- Instructions: Outlook may ask for permissions to access your contacts, calendar, or files. Tap Allow for any permission prompts.
7. Choose Notification Settings
- Instructions: You’ll be asked how you want Outlook to notify you. Select All, Focused only, or None, based on your preference.
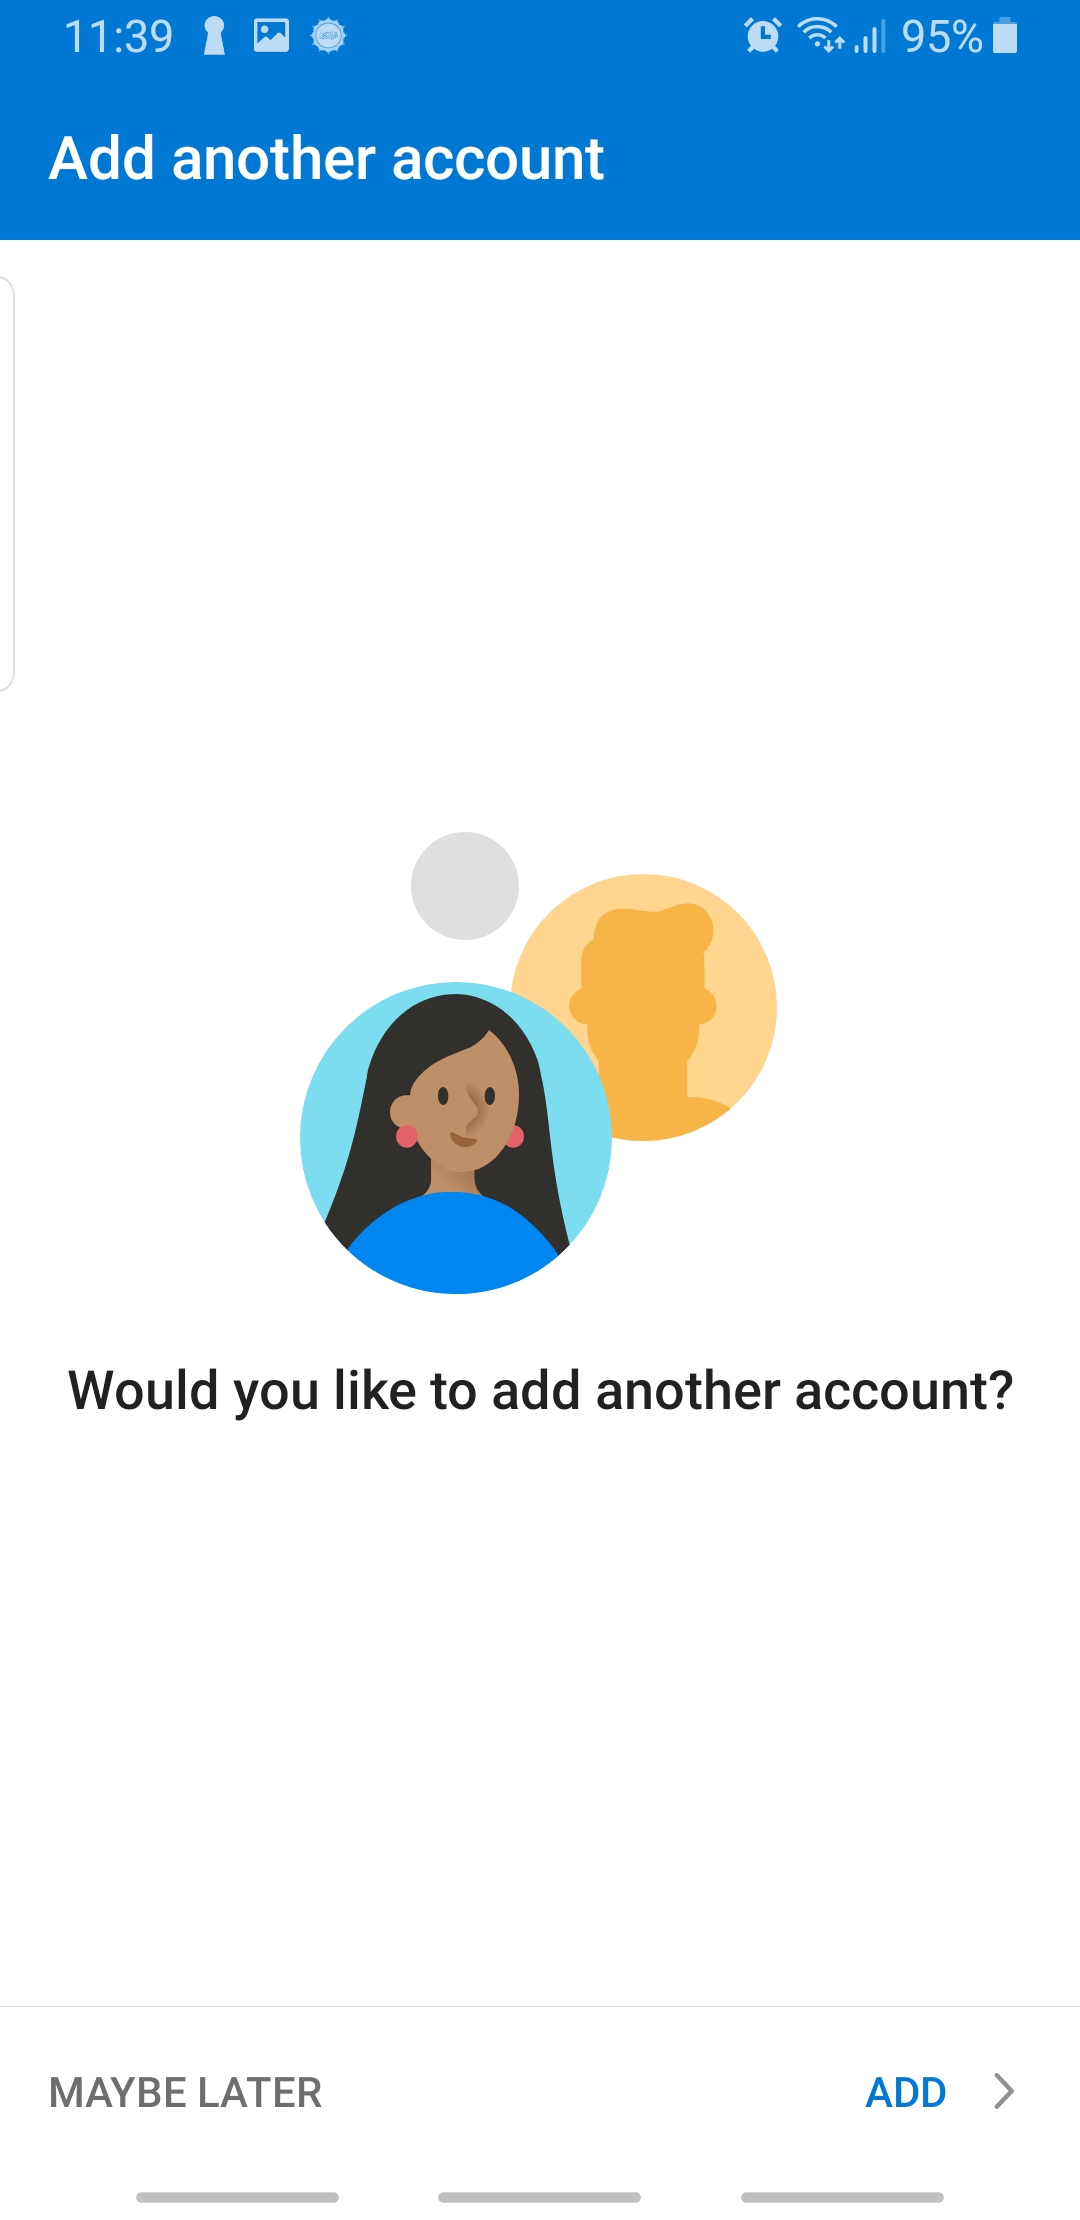
8. Finish Setup
- Instructions: Tap Skip or Continue to finalize the setup (based on your preferences for additional accounts or tutorial).

9. Verify Account Setup
- Instructions: Your inbox should now display. If you see your emails, the setup is complete!
Thanks for reading this Article, if you are still experiencing issues and nothing has been resolved then please contact the support team.