Mouse & Keyboard: Not working
When we are generally troubleshooting an issue we should start thinking of the most common cause rather than ruling it off as broken. This article will cover solutions to when your mouse or keyboard stops working.
1. Disconnect and reconnect
Depending on the mouse or keyboard you are using, its either Wired, wireless or Bluetooth. In either cases they would been connected to your device either physically via USB or Wirelessly via Bluetooth.
Wired = a wire coming from the mouse/keyboard connecting to your device
Wireless = a USB dongle connected on the device which specifically connects your mouse & Keyboard to the device wirelessly.
Bluetooth = The mouse or keyboard has been paired to the device via Bluetooth wirelessly (No wire or USB dongle).
Depending on the type of mouse or keyboard you are using (as mentioned above), either unplug or disconnect the mouse/keyboard then plug or reconnect/pair the mouse/keyboard.
This could very be the solution to the problem.
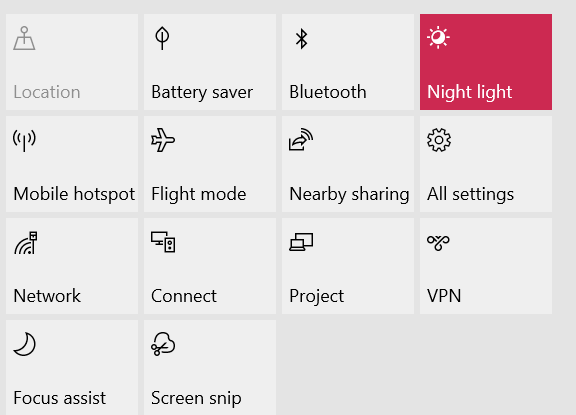
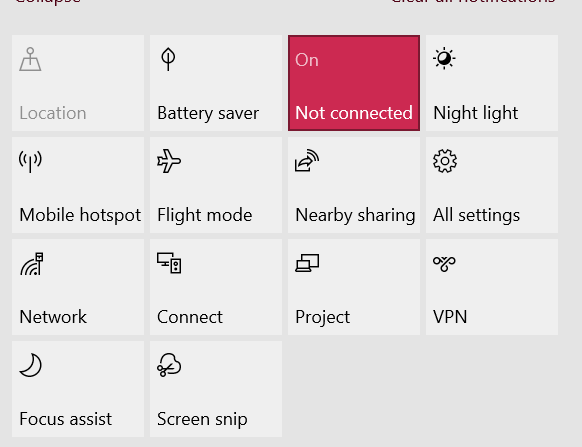
Caption: Windows 10 action centre enabling and disabling Bluetooth.
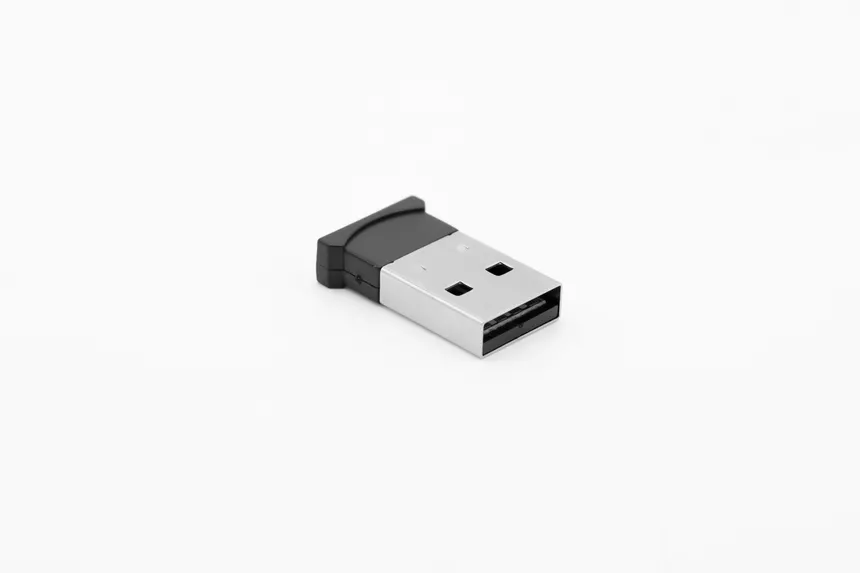
Caption: USB Mouse/Keyboard dongle
2. Restarting you machine
The second solution should rule off the issue if it was caused by windows. Sometimes Windows might fail to register the device at a specific point of time which causes the software which communicates with the mouse or keyboard to crash. This is referred as to as a crashed driver.
Typically restarting your device resolves the issue. But before you do restart, make sure to save your work. You can use a different mouse or keyboard temporarily to save your work. After restarting the mouse or keyboard that wasn't working should start working.
3. Enter the Support Code
Once the Quick Assist window appears, you’ll see a prompt asking for a code. Your IT support engineer will provide this code.
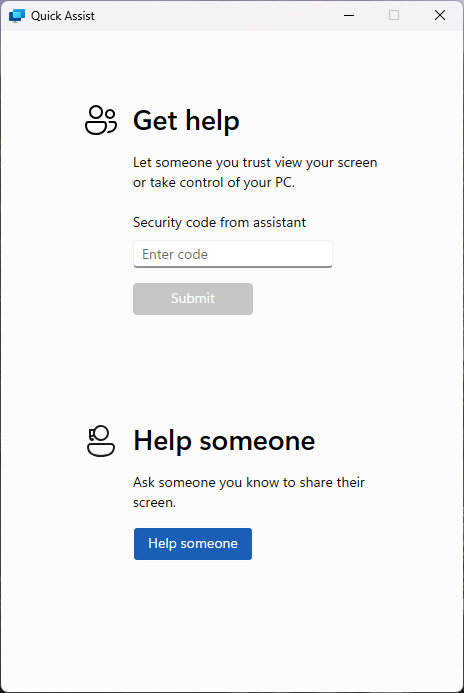
4. Submit the Code
Type in the code and click Submit to initiate the remote session.

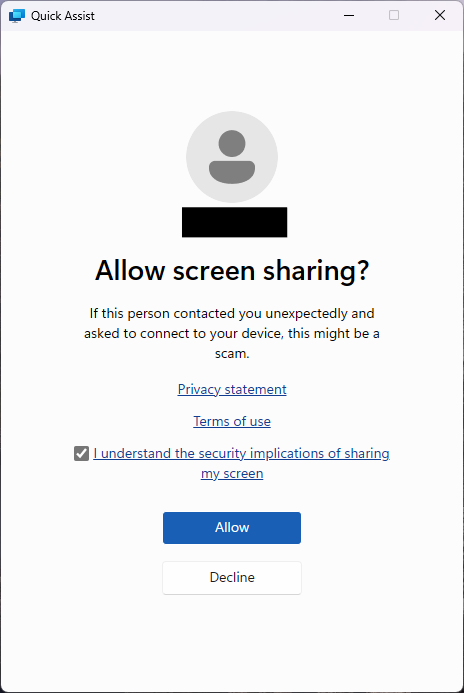
5. Accept the Remote Session
Quick Assist will go through a brief loading screen, followed by a prompt with a checkbox. Tick the box and click Accept to confirm the remote session.
6. Grant Control to the Support Engineer
Finally, your support engineer will request control of your machine. A toolbar will appear at the top of your screen. Click Allow to grant them control.
