Windows
Pages relating to Windows Computers,
- Windows: Remote Access
- Task Manager: How to force close an application
- Control Panel: Recognizing Microphone Input
- Windows: Restarting your machine
- Windows: Selecting Output Audio Device
- Windows: Tools for Productivity
- Windows: How to reset/Add a PIN
- Windows: Projecting Screen via Display Cables
- Windows: Device Name
- Windows: Connecting Via Bluetooth
- Windows: Adding a Printer in Windows
- Windows: Time and Date Settings
- Windows: Configuring Power settings
- Windows | Accessing a shared drive
Windows: Remote Access
Quick Assist: Your Built-In Solution for Remote IT Support
Quick Assist is a Windows built-in remote software that enables IT support engineers to quickly connect to your machine and resolve IT issues remotely. Setting it up is simple and takes just a minute. Follow these easy steps:
1. Open the Start Menu
Press the Windows key on your keyboard to bring up the Start Menu.
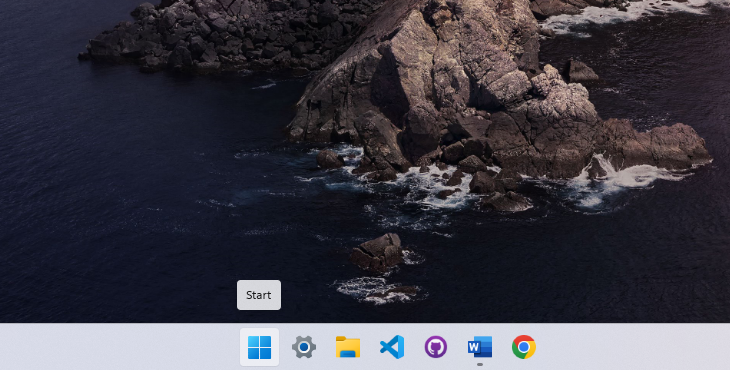
2. Search for Quick Assist
Type Quick Assist in the search bar, then press Enter to open it.

3. Enter the Support Code
Once the Quick Assist window appears, you’ll see a prompt asking for a code. Your IT support engineer will provide this code.
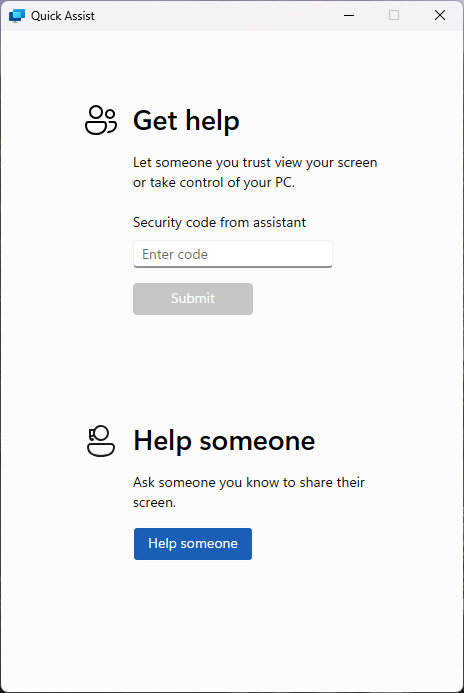
4. Submit the Code
Type in the code and click Submit to initiate the remote session.

5. Accept the Remote Session
Quick Assist will go through a brief loading screen, followed by a prompt with a checkbox. Tick the box and click Accept to confirm the remote session.
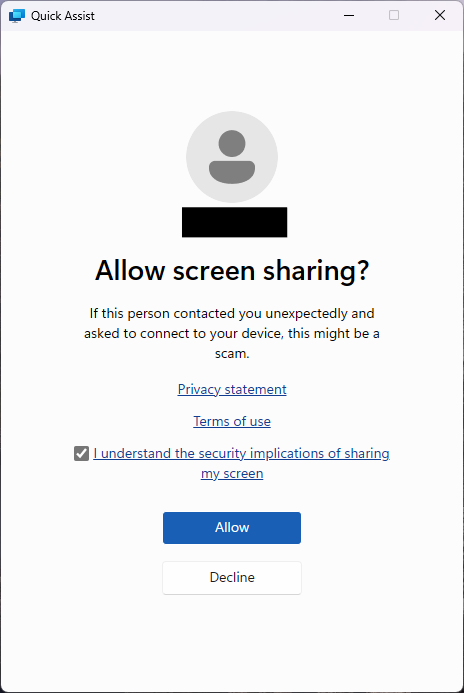
6. Grant Control to the Support Engineer
Finally, your support engineer will request control of your machine. A toolbar will appear at the top of your screen. Click Allow to grant them control.

Task Manager: How to force close an application
Welcome to this quick guide on how to force close a crashed or frozen application. If an app suddenly stops responding, it can feel frustrating and leave you unsure of what to do. Crashes often occur when an application encounters issues accessing your computer’s processes. Force closing the unresponsive app and reopening it can often resolve the problem and get things running smoothly again
1. Open the Start Menu
Press the Windows key on your keyboard to bring up the Start Menu.
2. Search for Task Manager
Type Task Manager in the search bar, then press Enter to open it.

3. Find the application
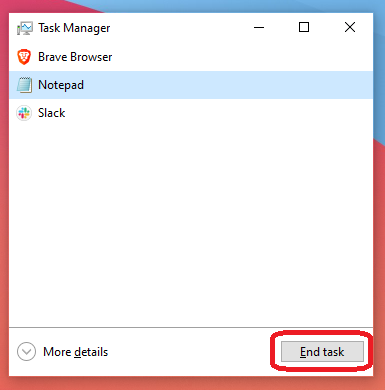
Once the Task Manager window appears, you’ll see a series of application currently running on your machine. Find the application that is in question and Select it.

4. End Task
Click End Task. This will force a close to the application.
Control Panel: Recognizing Microphone Input
What will be covered:
- How to test if my microphone is working.
1. Open the Start Menu
Press the Windows key on your keyboard to bring up the Start Menu.
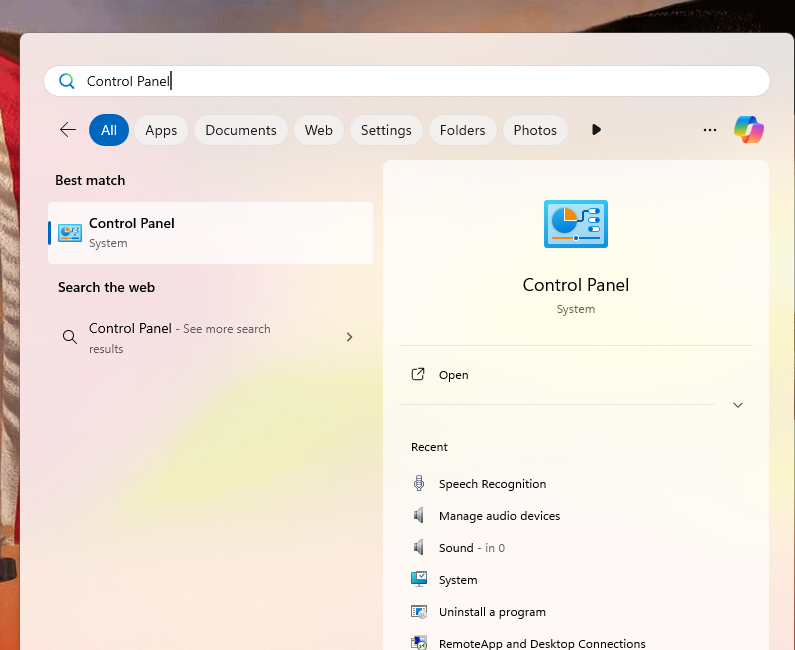
2. Search for Control Panel
Type Control Panel in the search bar, then press Enter to open it.
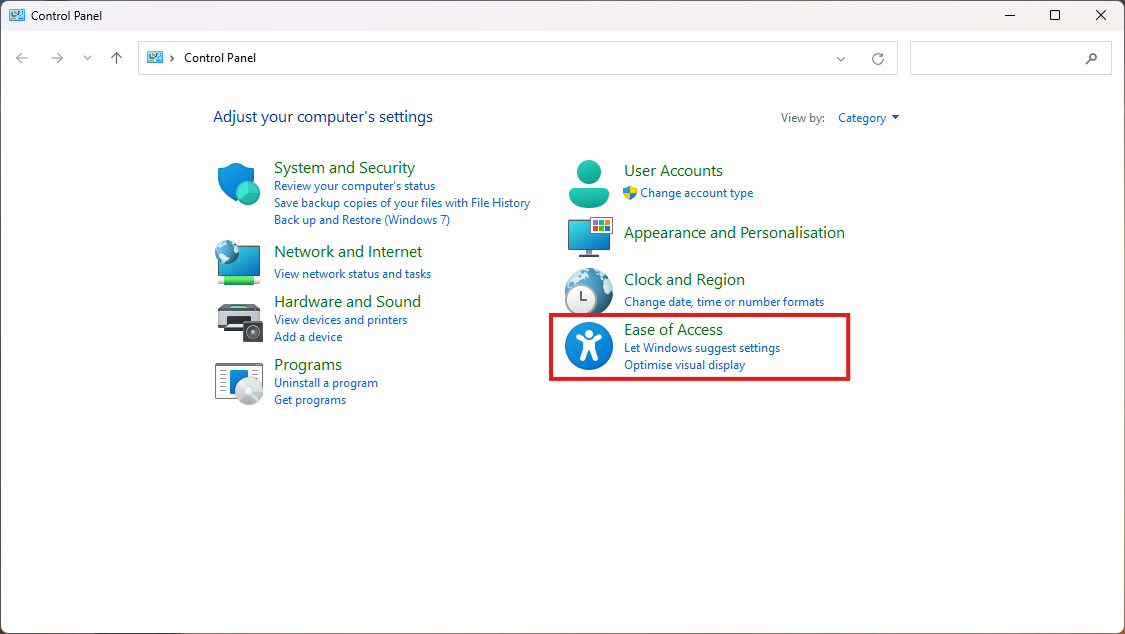
3. Open Ease of Access Tab
Once Control Panel has opened, Locate the Ease of access tab.
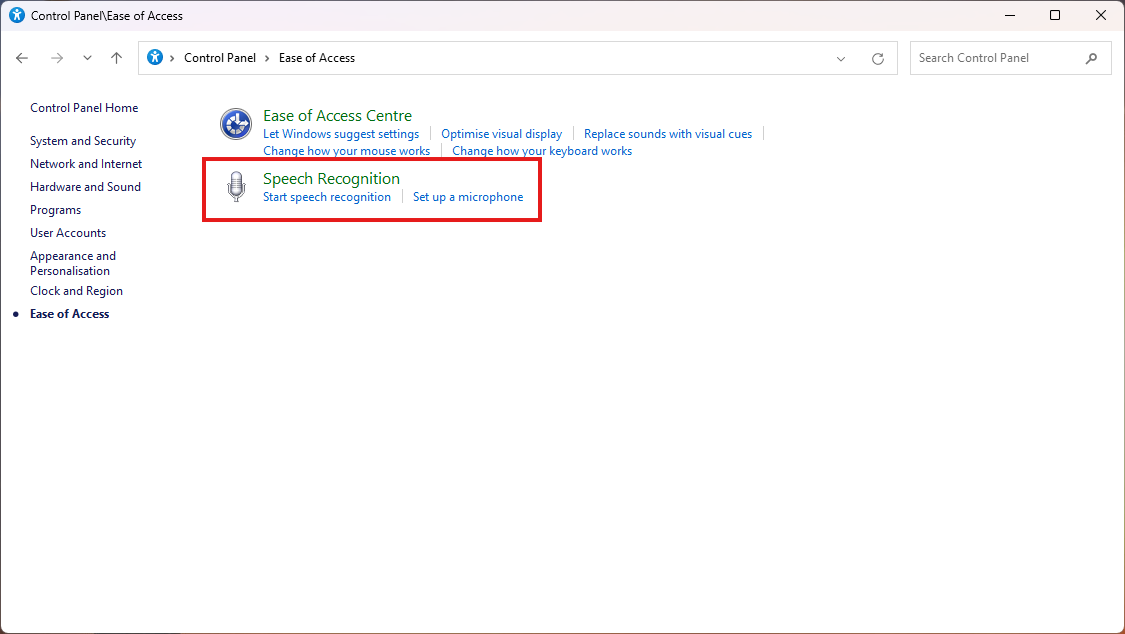
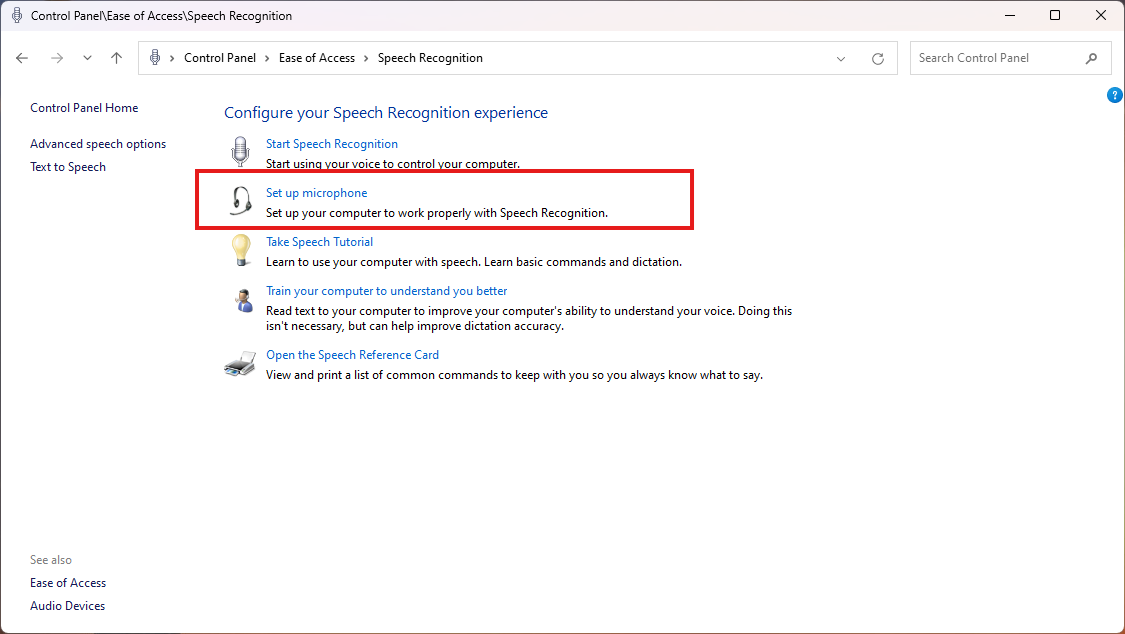
4. Open Speech Recognition
Click "Speech Recognition"
5. Set up Microphone
Click "Set up Microphone"
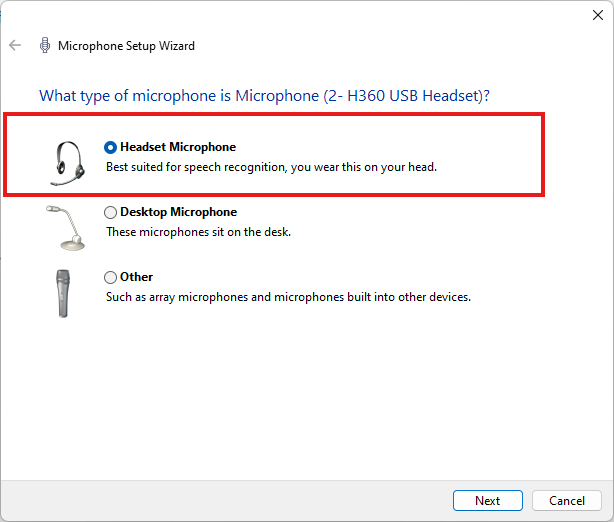
6. Microphone Device
Windows will auto-detect the microphone you have connected to the computer. Select the relevant Microphone device.
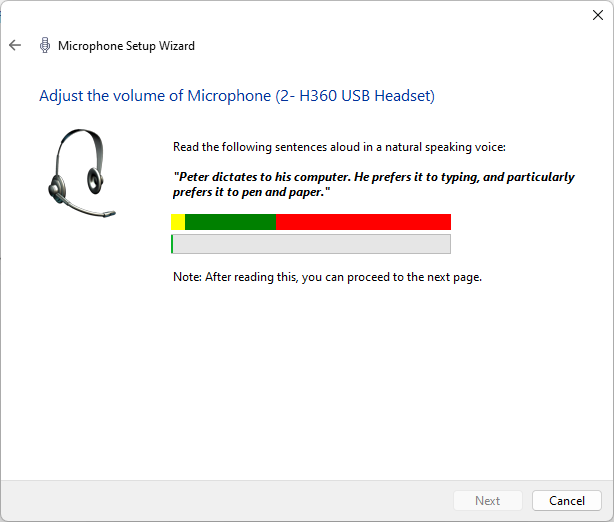
7. Test Audio Input
Now test the microphone. the sound level bar should go up and down based on your voice frequency picked up by the microphone. Red: Too loud, Green: Good Sound Level, Yellow: Quite. If you aren't any getting audio input the sound level would stay still at the bottom.
Windows: Restarting your machine
Here’s how to reboot your Windows machine in a few simple steps. Windows 11 and 10 and generally the same.
1. Open the Start Menu
Press the Windows key on your keyboard to bring up the Start Menu.
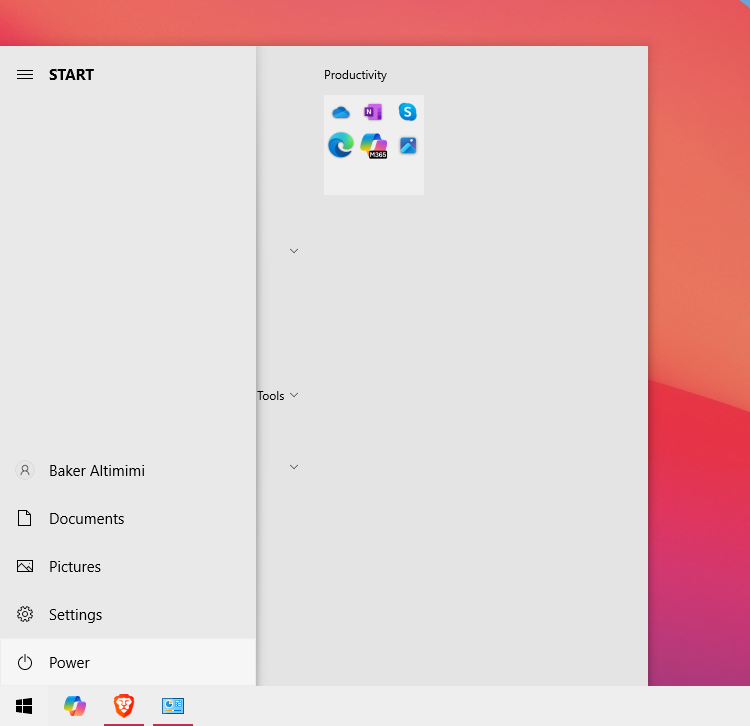
2. Select Power Options
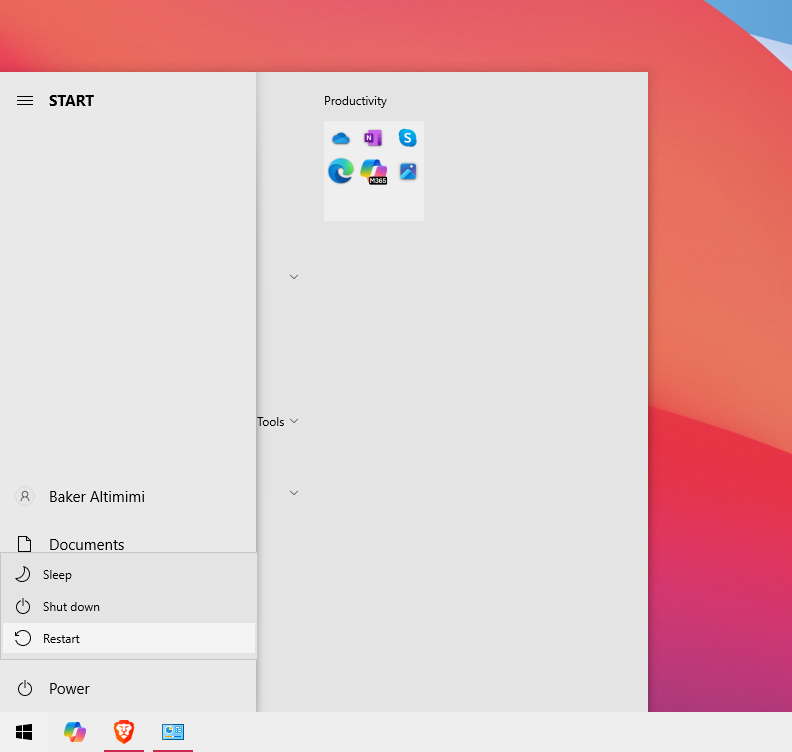
3. Choose Restart
Click on Restart. Your computer will close all programs, log off, and reboot automatically.
4. Confirm and Save Work
If prompted, make sure to save any unsaved work before proceeding, as restarting will close open applications.
Benefits of Rebooting Over Shutting Down
Restarting a computer offers some unique advantages over shutting down. When you restart, the system clears temporary files and cache, freeing up system memory. This often resolves minor glitches, refreshes processes, and optimizes performance. Importantly, rebooting also completes pending updates. Updates often require a reboot to fully install changes, improving system security and stability. Unlike a complete shutdown, which does not necessarily initiate updates, restarting ensures that patches, driver updates, and other system improvements are applied.
Thanks for reading this Article, if you are still experiencing issues and nothing has been resolved then please contact the support team.
Windows: Selecting Output Audio Device
What will be covered:
- How to Select the appropriate audio output device
Reason: One reason to select the right output device is Windows might of auto-selected the wrong output device and now the audio is being outputted from your monitor instead of the headphones.
1. Open Quick Panel
Locate the quick panel at the bottom right of your screen and open it.
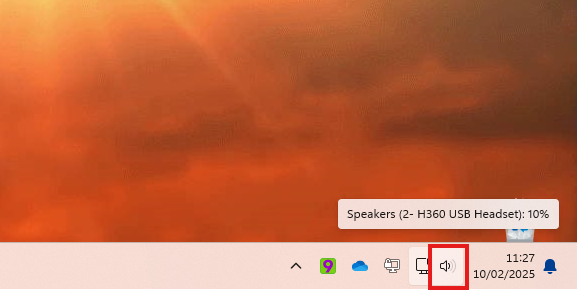
2. Open Sound Output Menu
Click the "Sound Output menu."

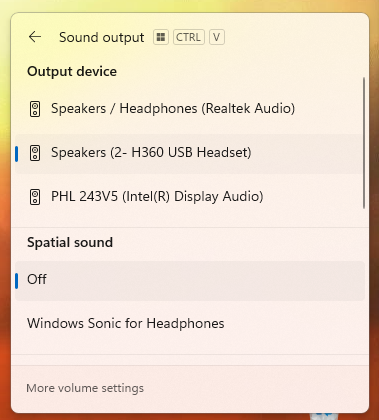
3. Select & Test
Whatever Windows has recognized of sound output devices will be displayed under the Output device. Select the appropriate output device so that audio can be outputted to that device instead of another.
Windows: Tools for Productivity
This article covers different application which are pre-built into Windows to help you to be extra productive when you are working.
1. Snipping Tool
Snipping tool is helpful in allowing you to take snippets of your screen. In Windows 11 it also provides a recording feature. After a snippet has been taken you will automatically have it saved on your clipboard. This allows you to quickly paste the snippet anywhere you'd like. You can use the Windows key + Shift + S to quickly open the snippet tool.
Where to find:
- Windows key + S to open the windows search box
- Type Snipping Tool.

How to use:
- Begin a new snippet.
- Toggle between Screenshot or Recording ( Windows 10 only always for screenshot).
- Toggle between how you would like to take a snippet. e.g Cutting with window toggled, will give you a screenshot of whatever window you selected.
- Add Delay to give you enough time to take a screenshot.
- Quickly Modify the screenshot.
- Crop or Convert whatever text is seen in the screenshot into copiable text.
- Other features
2. Sticky Notes
Sticky notes is a valuable tool which allows you to take notes on the fly. Notes are automatically saved and you can keep creating sticky notes as much as you want.
Where to find:
- Windows key + S to open the windows search box
- Type Sticky Note.
- You might need to sign into a Microsoft account (in that case you can use your outlook email address).
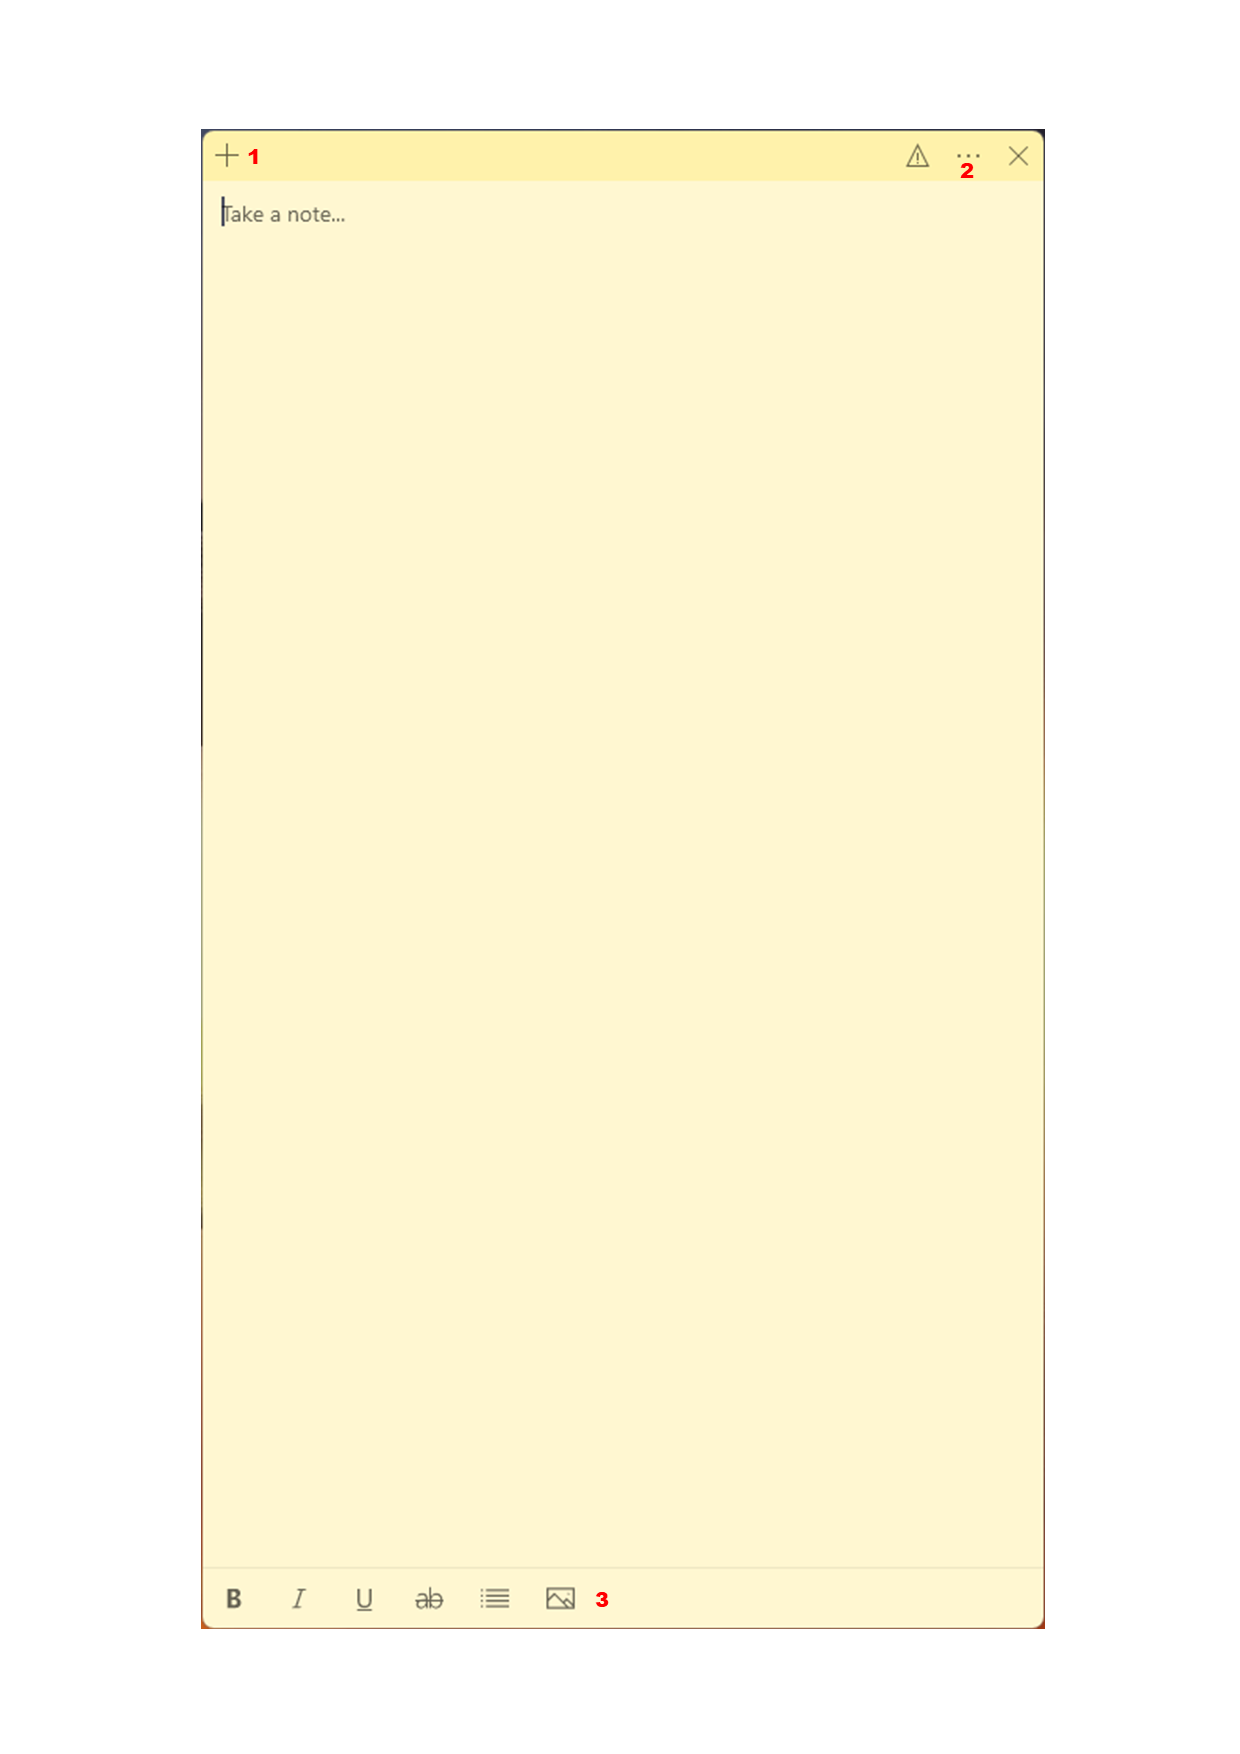
How to use:
- Add another sticky Note
- Settings - Includes customizing background colour.
- Tool bar - including adding an image and text customization.
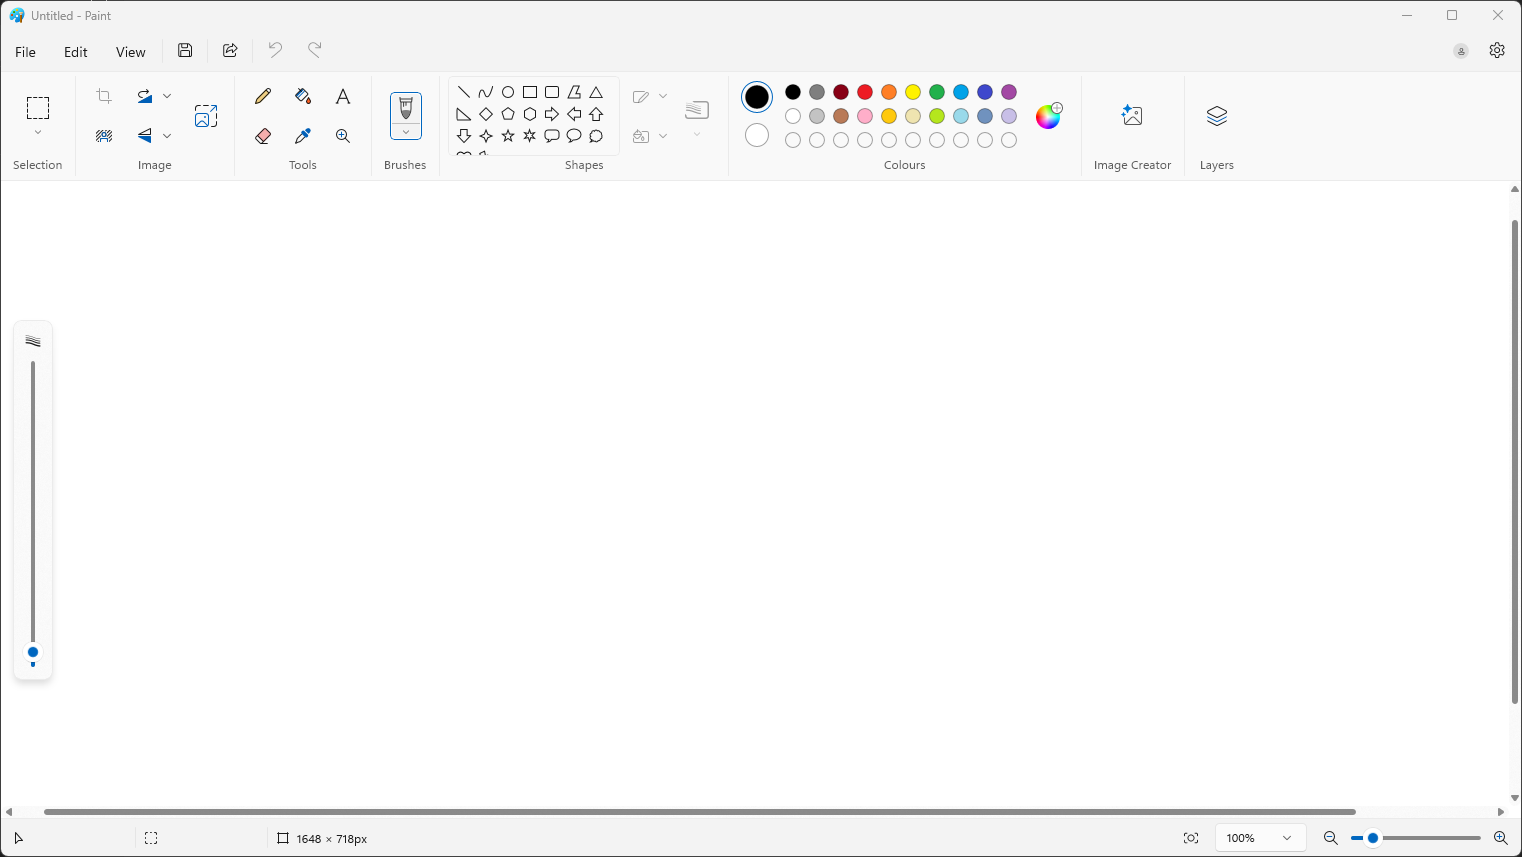
3. Paint
Paint is a handy tool to quickly editing images. copy and paste images in the canvas and start using the tools at the top to edit the image.
Where to find:
- Windows key + S to open the windows search box
- Type Paint.
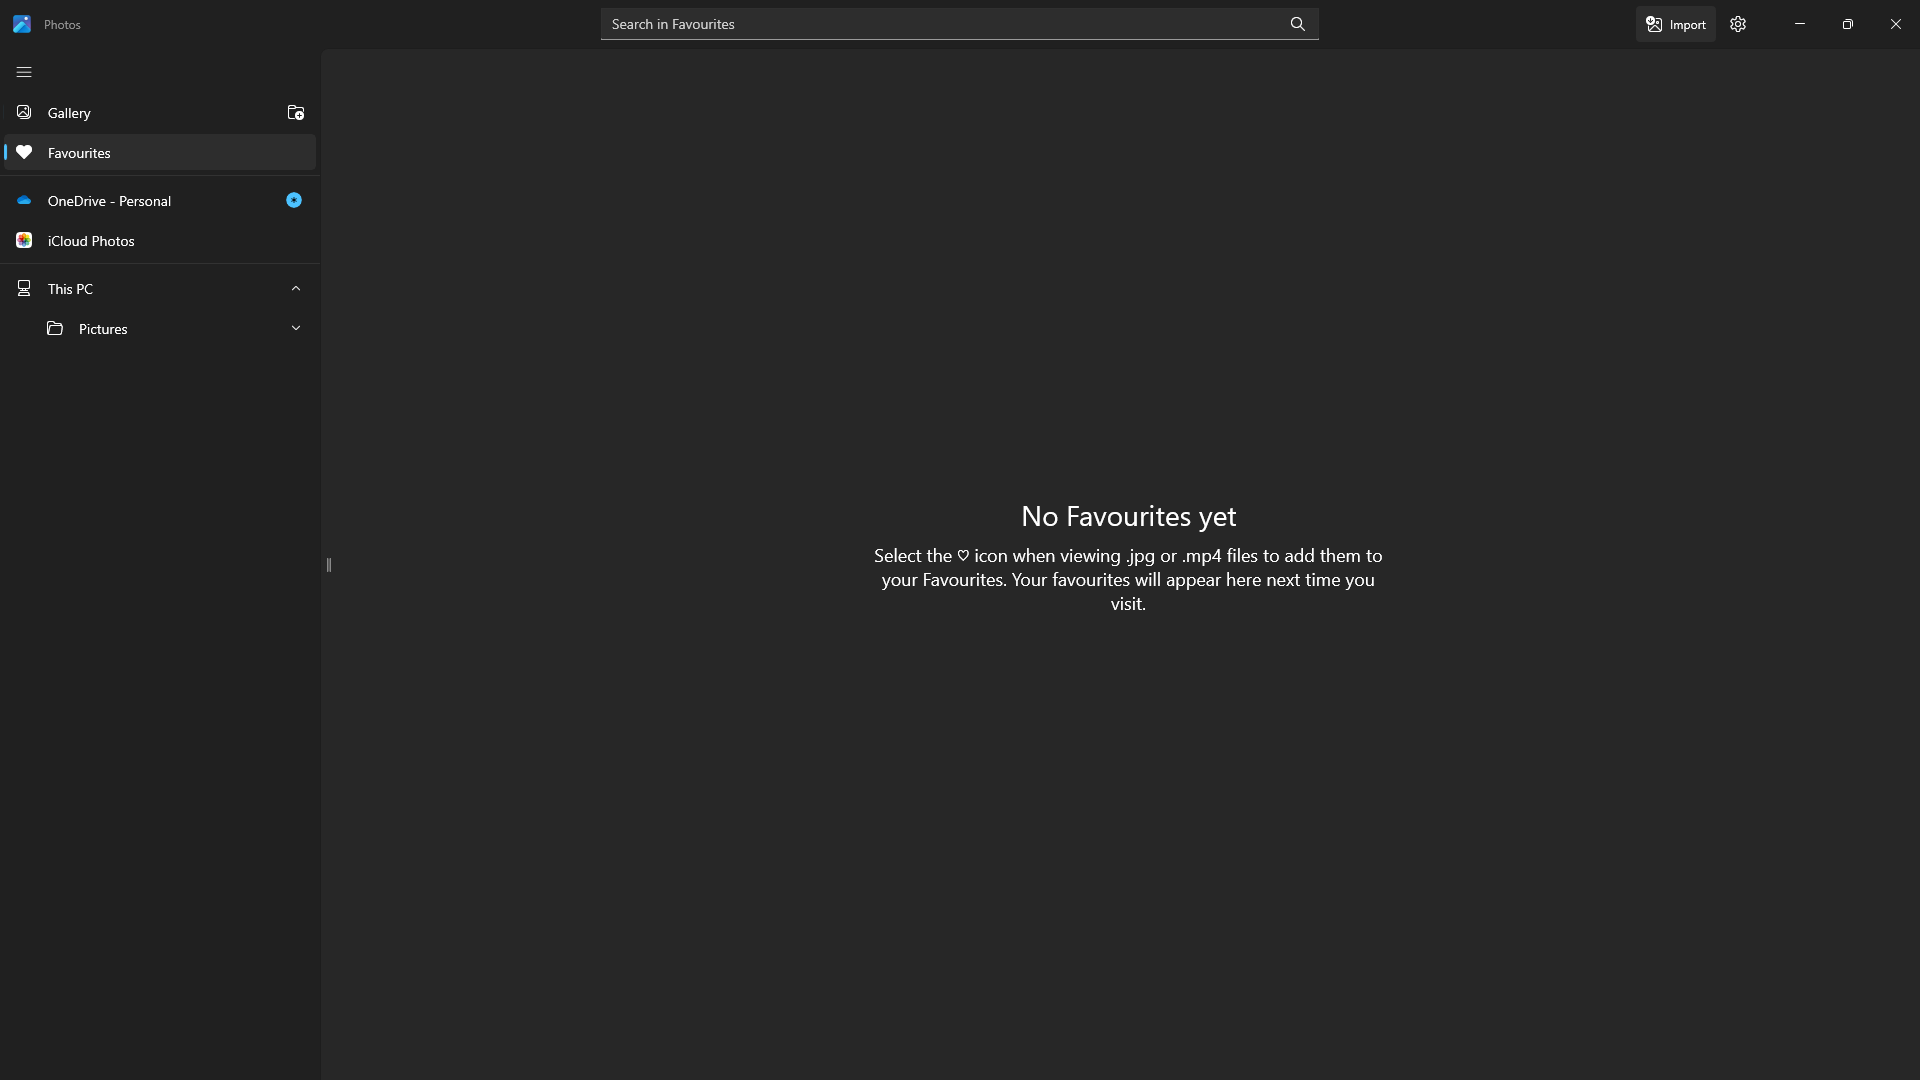
4. Photos
An alternative way to browser your pictures saved on your machine. Photos also allows you to connect to OneDrive or iCloud photos.
Where to find:
- Windows key + S to open the windows search box
- Type Photos.
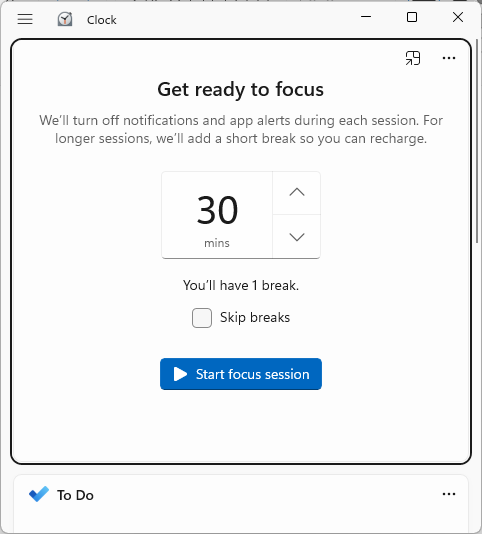
5. Clock
The clock application is great tool to keep focus. You can set a timer and a break time to ensure you are focused when you are using your machine.
Where to find:
- Windows key + S to open the windows search box
- Type Clock.
6. Microsoft Store
Similar to the app store or apple store, Microsoft store is a safe way to install applications. You can install applications like Whatsapp, Facebook...etc.
Where to find:
- Windows key + S to open the windows search box
- Type Microsoft Store.
Windows: How to reset/Add a PIN
This article goes through resetting/ Adding a PIN for Windows 10/ 11
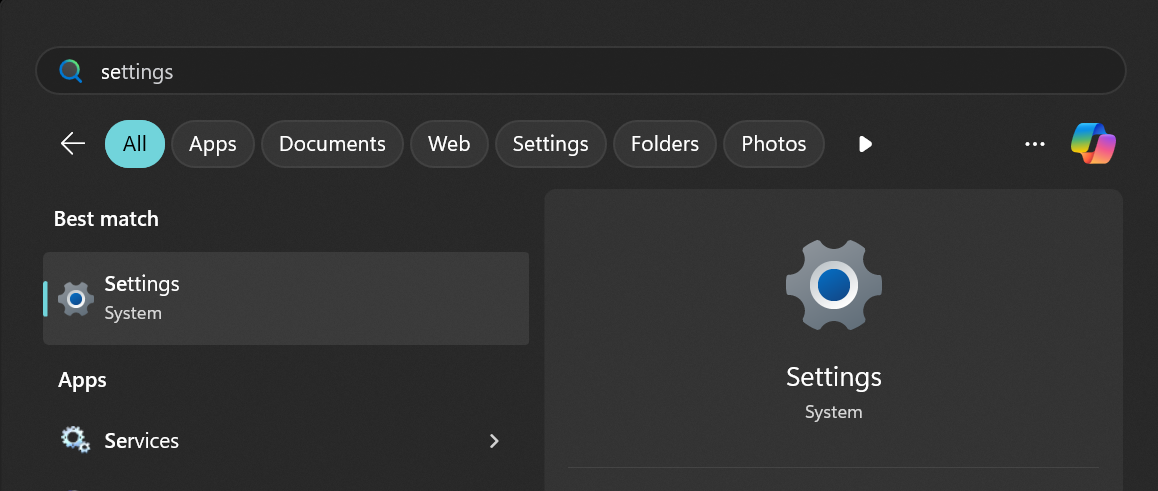
1. Open the Start Menu
Press the Windows key on your keyboard to bring up the Start Menu. search for Settings.
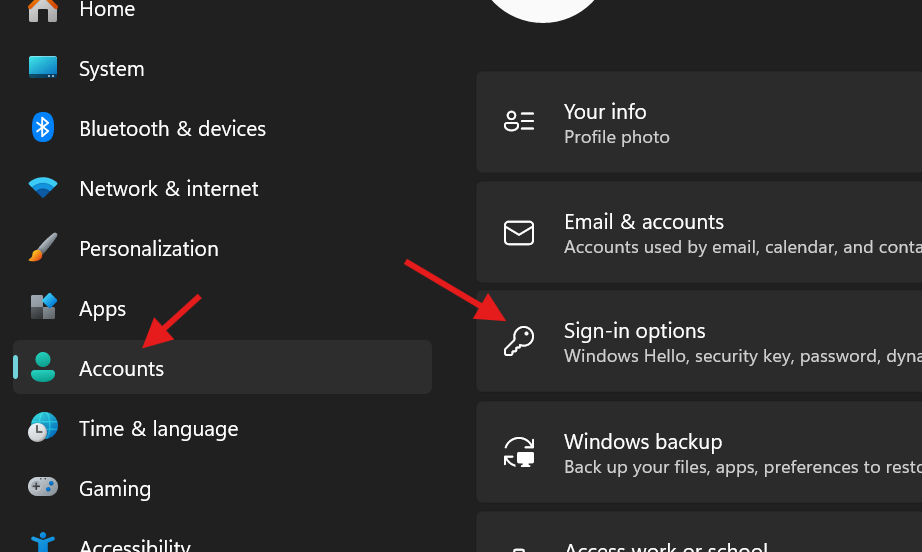
2. Open Accounts Tab
Inside the accounts tab find sign-options.
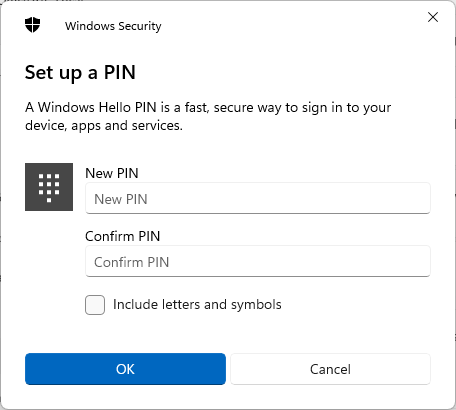
3. PIN (Windows Hello)
Click "Set up" and enter your Password. If you are resetting a PIN then click "forgot PIN".

4. Enter a PIN
Finally enter a PIN and OK when you are done.
Windows: Projecting Screen via Display Cables
Devices which support a display connection allows you to project your laptop screen to a larger screen. Provided that you have already setup, this article demonstrates how to configure projection via Windows.
1. Adjusting Projection style
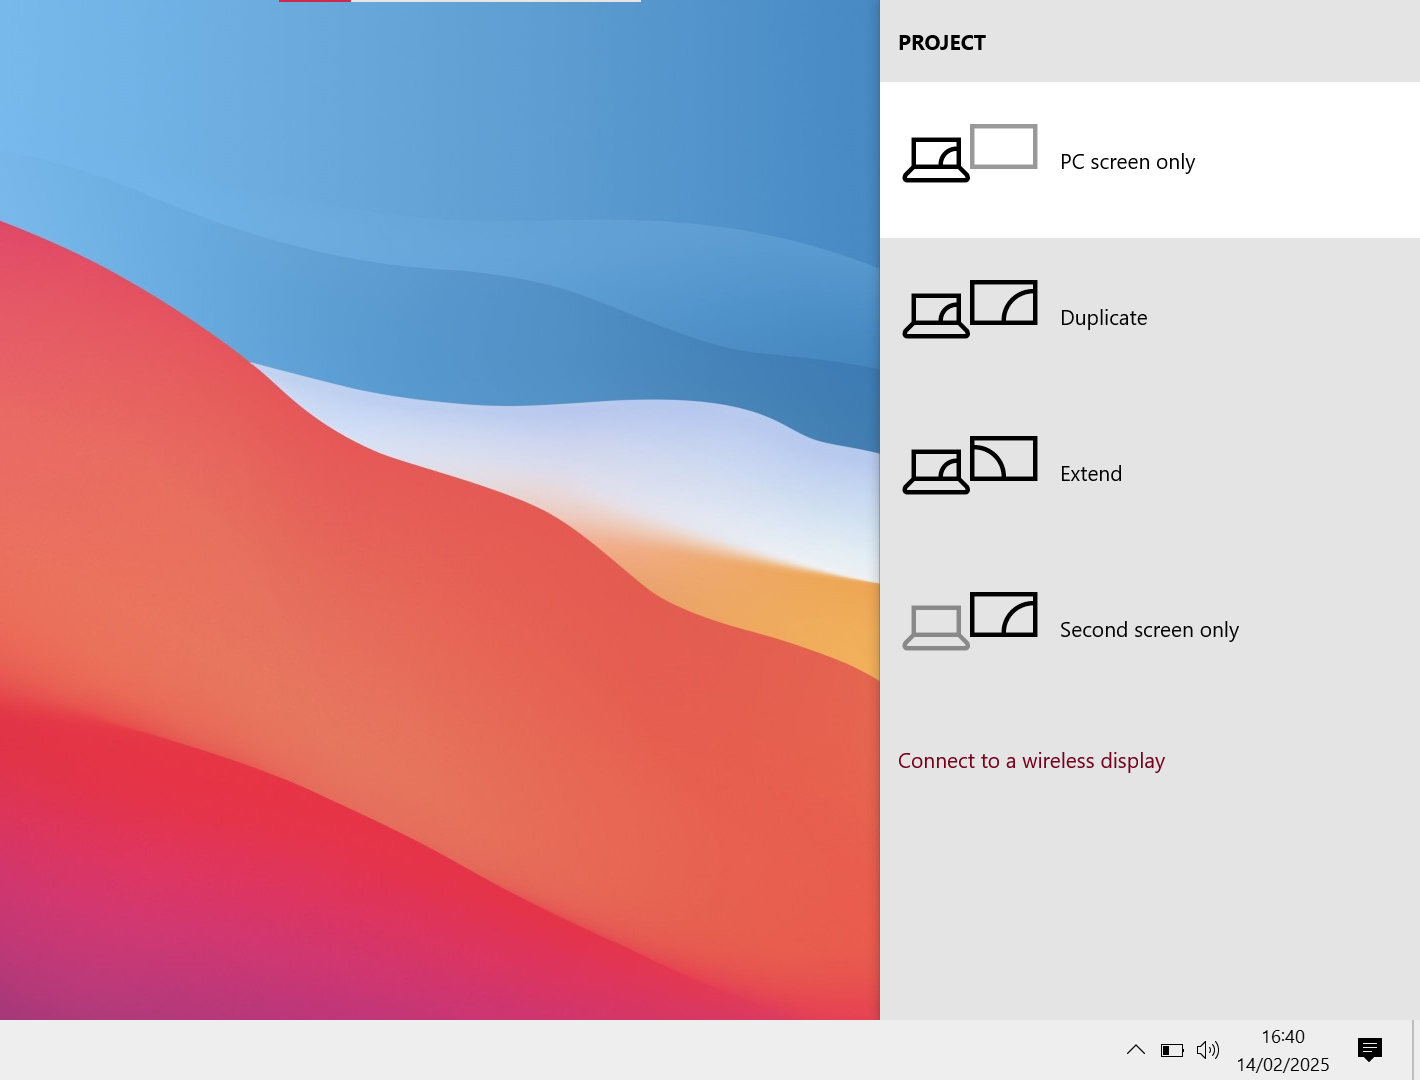
Press the Windows key + P. A series of different projecting styles should pop up.
PC screen only = This stops the projection to the Secondary screen but keeps your screen working.
Duplicate = Whatever is seen on the PC screen will exactly display on the Secondary screen.
Extend = Whatever is seen on the PC screen is kept on the PC screen. Secondary screen is an extension of the PC screen but not duplicate.
Second screen Only = This Keeps the projection to the Secondary screen but stops your screen displaying.
Depending on your needs you can adjust the style.
2. Display Settings
1. You can drag the boxes which corresponds to the Monitors you have connected. This might come in handy if you are dragging your mouse to the wrong Connor of the screen to access the other monitor screen.
2. Identify shows a number on each screen. This helps you to identify which monitor needs moving to the correct order.
3. Select a screen (Box) which isn't currently the main screen then select " Make this my main display". Handy if you want make a monitor the central monitor for you work.

Windows: Device Name
What will be covered:
- How to display your machine's details.
1. Open the Start Menu
Press the Windows key on your keyboard to bring up the Start Menu and Type "About"
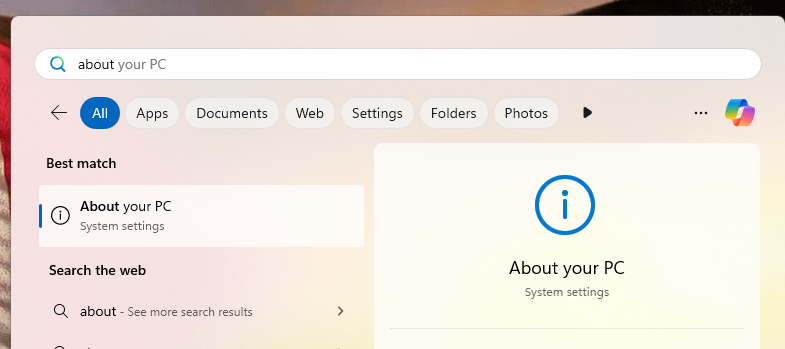
2. System Information
The System information can be helpful for the IT Team to identify your machine.

Windows: Connecting Via Bluetooth
Windows: Adding a Printer in Windows
What will be covered:
- How to add a printer
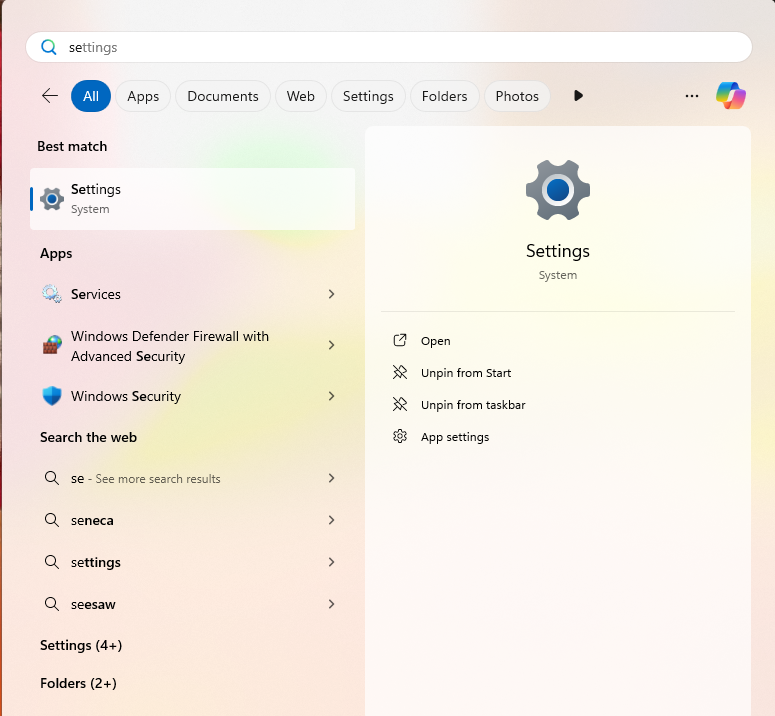
1. Open the Settings menu
Press the Windows key on your keyboard to bring up the Start Menu. Type settings in the search bar.
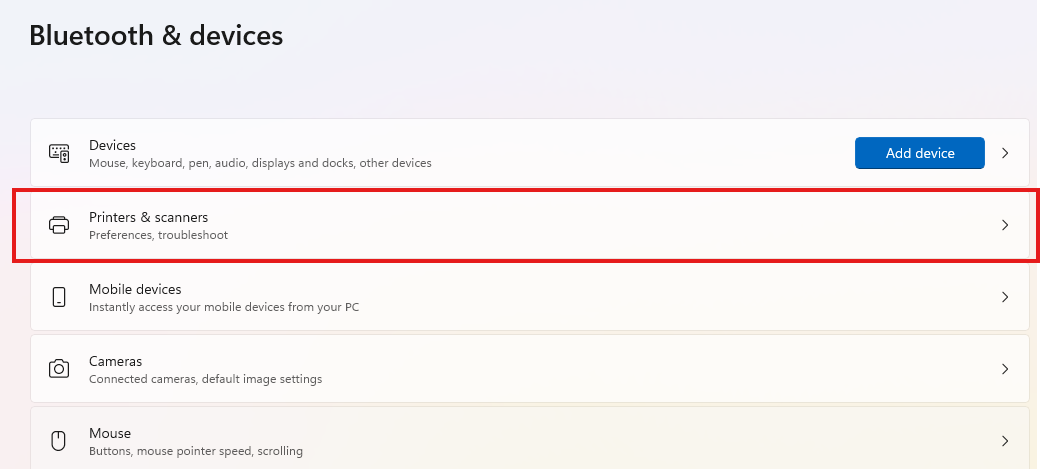
2. Open the Bluetooth & devices section
Look for the Bluetooth icon on the middle left of the screen.
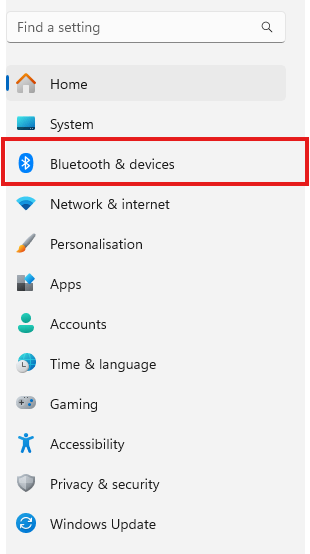
3. Open Printers & Scanners
Select Printers & Scanners in the list of options.
4. Click Add Device
Windows will automatically search the network for available printers. Most of the times this might fail due to drivers not being installed. Depending on the printer you are trying to connect, search the printer model and name on google to install the drivers. after they have been installed re-add the printer. Make sure you are on the same network as your printer.

Windows: Time and Date Settings
Ensuring the right time and date on the systems can fix a lot of issues. If you are experiencing an issue on a specific application, this could be the potential fix. We will cover a how to set the computer to atomically configure the correct time always.
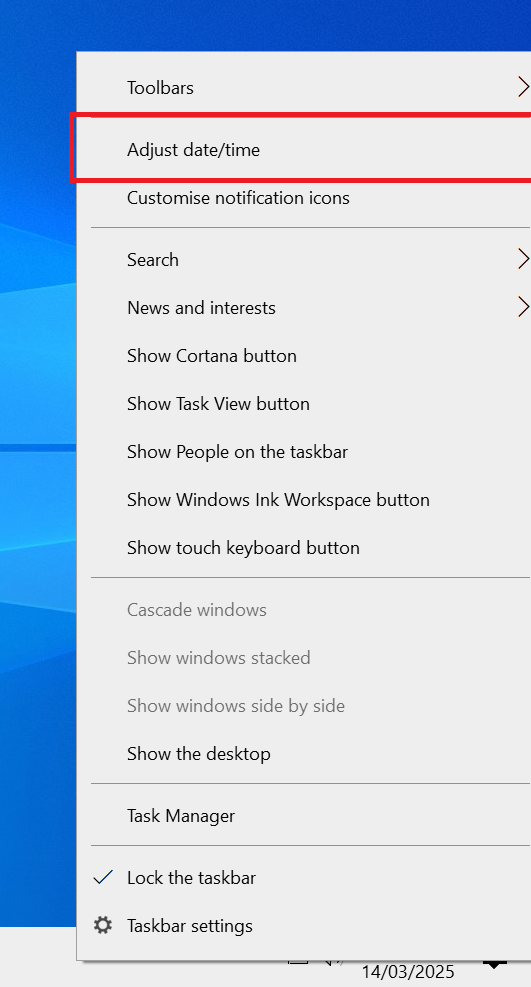
1. Adjust date/time
On the taskbar below the screen, right click the time and date. This will open a similar menu as in the image below. Click "adjust date/time".
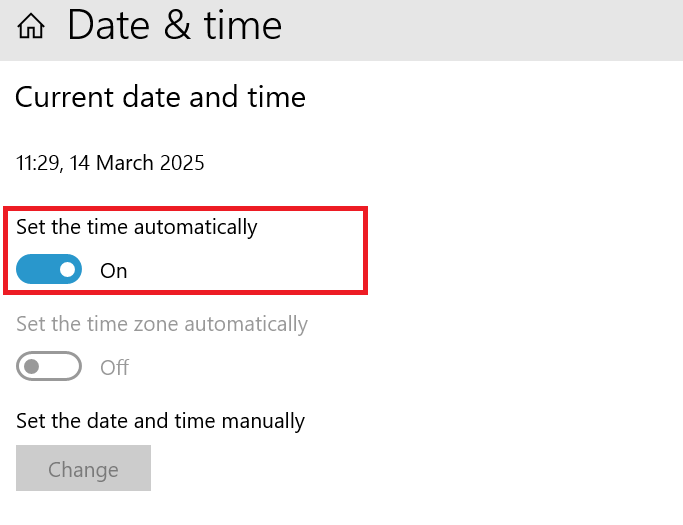
2. Set the time automatically
Simply check on the toggle for "set the time automatically". This will automatically set the right time and date every-time the computer is turned on.
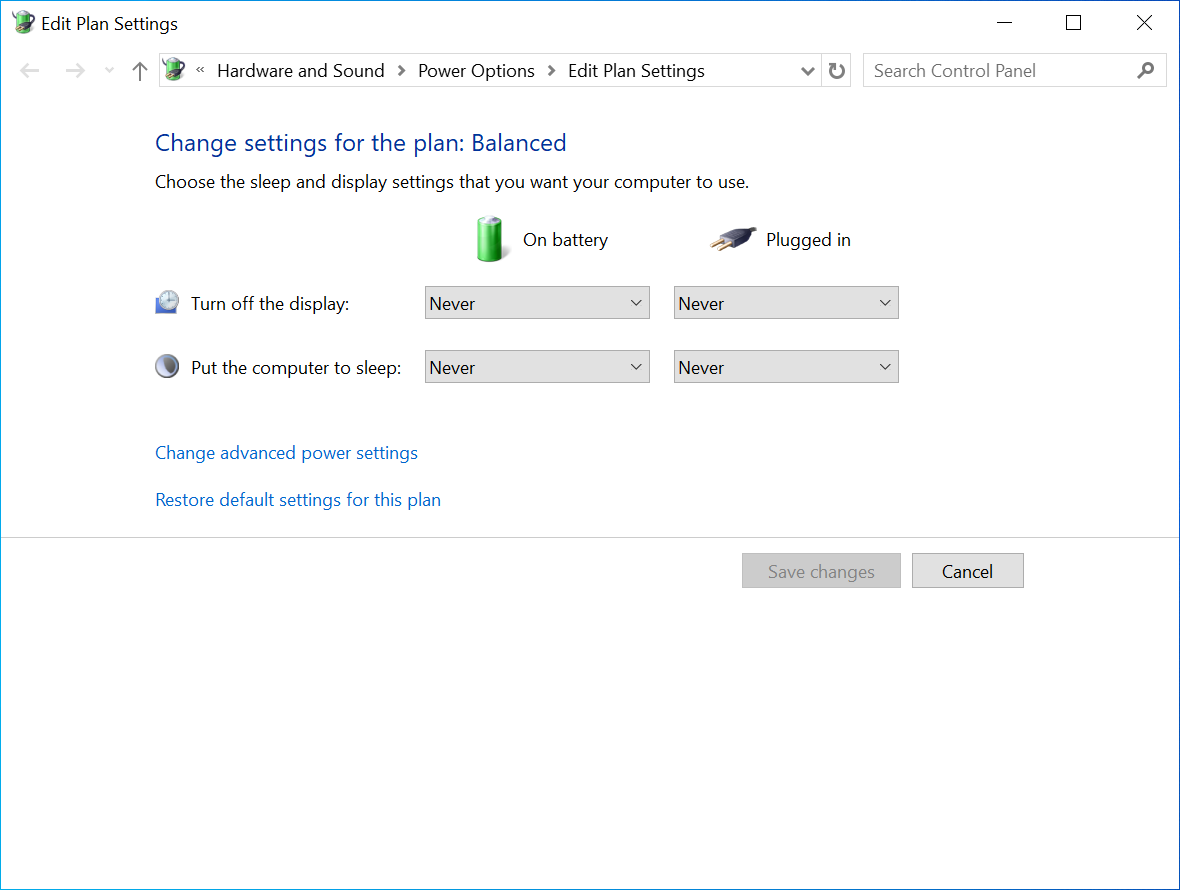
Windows: Configuring Power settings
Managing your Windows power plan settings allows you to control when your computer sleeps and when the monitor turns off. By customizing these settings, you can optimize power usage, improve system performance, and prevent unnecessary interruptions.
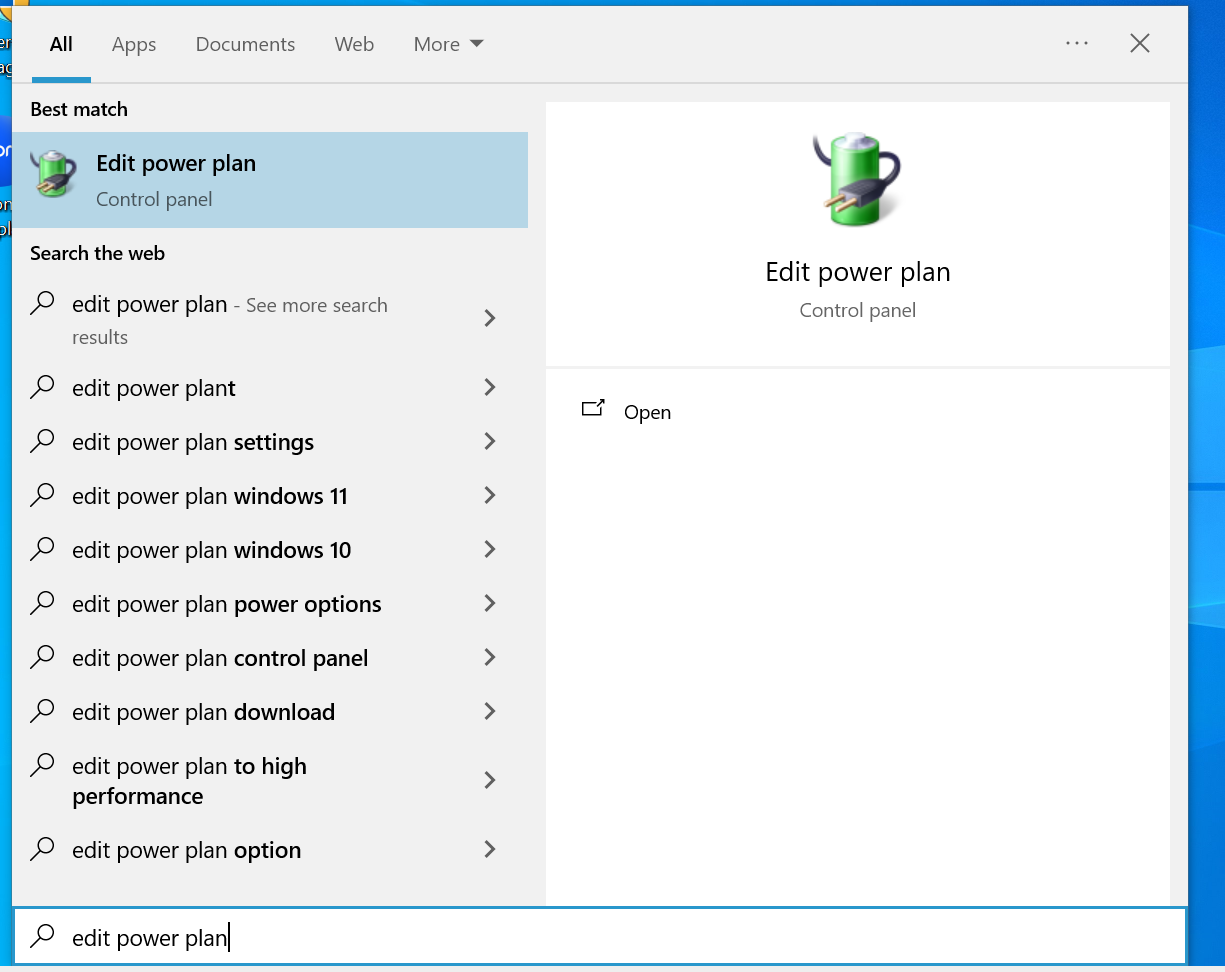
1. Open the Start Menu
Press the Windows key on your keyboard to bring up the Start Menu. Search for "Edit Power Plan"
2. Edit Plan Settings
Use the drop down menu to select when the screen display turns off or put the computer to sleep.
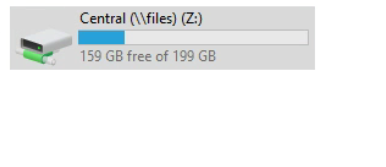
Windows | Accessing a shared drive
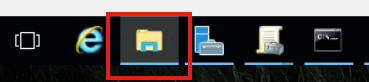
1. Open file explorer
2. Click "This PC"
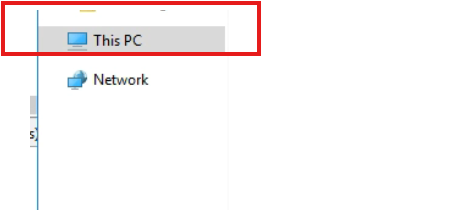
3. Click the Shared Drive.