Microsoft 365 (OneDrive, Sharepoint, Outlook... etc)
Articles regarding Microsoft 365 issues
- Microsoft 365: How to set up the Microsoft Authenticator app
- Microsoft 365: Setting up Two Factor Authentication (iPhone)
- Microsoft 365: SharePoint: SharePoint Via Network Drive
- OneDrive: OneDrive Syncing problems
Microsoft 365: How to set up the Microsoft Authenticator app
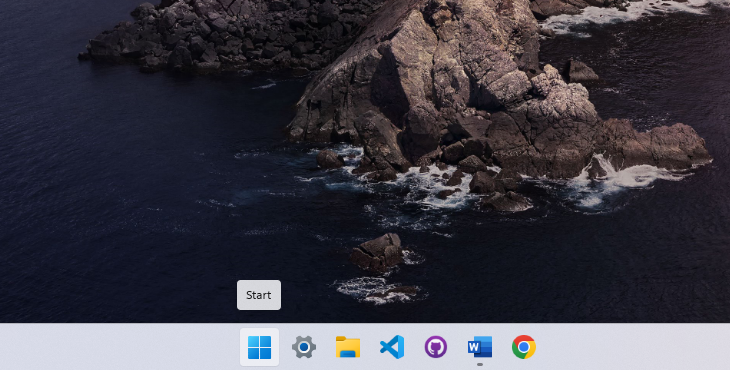
1. Open the Start Menu
Press the Windows key on your keyboard to bring up the Start Menu.
2. Search for Quick Assist
Type Quick Assist in the search bar, then press Enter to open it.

3. Enter the Support Code
Once the Quick Assist window appears, you’ll see a prompt asking for a code. Your IT support engineer will provide this code.
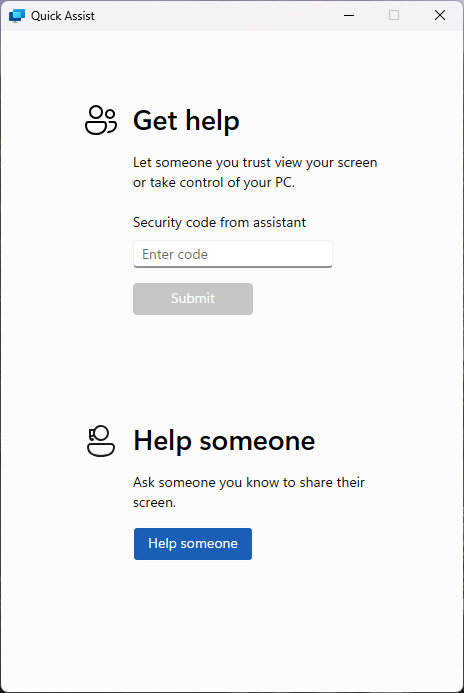
4. Submit the Code
Type in the code and click Submit to initiate the remote session.

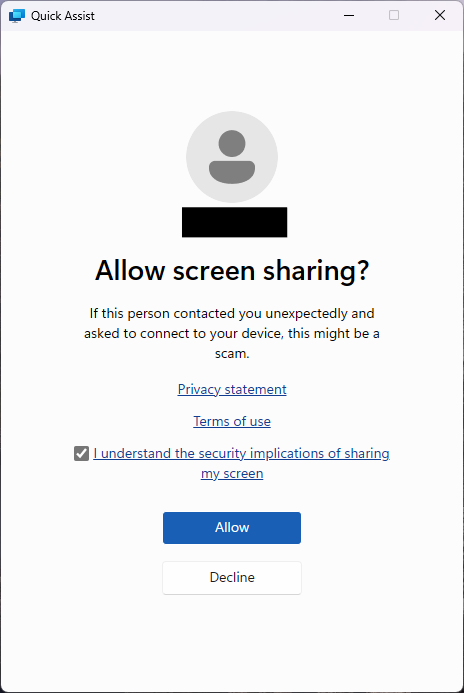
5. Accept the Remote Session
Quick Assist will go through a brief loading screen, followed by a prompt with a checkbox. Tick the box and click Accept to confirm the remote session.
6. Grant Control to the Support Engineer
Finally, your support engineer will request control of your machine. A toolbar will appear at the top of your screen. Click Allow to grant them control.

Microsoft 365: Setting up Two Factor Authentication (iPhone)
Step 1
The “Authenticator” app should now appear on your home screen. You will need this for step 3.


Step 2
1. Using your computer, open a browser and navigate to https://login.microsoftonline.com.
2. Log into Office 365 online with your company email address and password. Eg: zak@support9.com.
Your IT Administrator will have already enabled 2FA on your Work Microsoft user account, so you should receive the prompt shown below asking you to setup 2FA (Two Factor Authentication).


3. You will then arrive on the Additional Security Verification page, asking you which security method you would like to use.
4. Select the Mobile app option from the drop-down list and select Use verification code from the list of choices, then Click Set up.
Once this has been completed you will be displayed with the message below.

Step 3
1. Now, open the Microsoft Authenticator app on your phone
2. Skip any Introduction screens the app may present, until the Ready to add your first account? screen or similar appears.
3. Select Add account or "+" icon on the top right corner of the app screen.
4. Select the Work or school account option

5. You may be asked to allow the app to use your phone’s camera, click OK to allow this.
You will be presented with a screen called Scan QR code with a square camera box in the middle of the screen.

6. Lift the mobile device so that the QR code on your computer screen sits inside the Scan QR code camera square.

7. As soon as the Authenticator app has scanned the QR code the following screen will appear on the computer screen. Set up button is greyed out and the Next button is highlighted.
On the Authenticator app on your mobile phone a new account will have been created, displaying 6-digit number that updates every 30 seconds. This ever-changing number provides the second authentication factor required for 2FA.
8. Click Next on your computer screen.
9. You will then be prompted for the 6-digit verification code from the Authenticator app.

10. Enter the six-digit code displayed on your mobile phone Authenticator app and click Verify.

11. Select the country from the drop-down list and then enter your mobile telephone number. Click Next.
Thanks for reading this Article, if you are still experiencing issues and nothing has been resolved then please contact the support team.
Microsoft 365: SharePoint: SharePoint Via Network Drive
1) Open your web browser Chrome, Edge..etc
2) Search “www.Office.com” in the URL bar at the top (Search bar)
3) Top Right, Click “Sign in” *if you already not signed in
4) Top Left, Click on the 3x3 gird
5) Choose “SharePoint”
6) Find the SharePoint Site that has the files and folders. A SharePoint site is a centralized storage space for all/selected staff users to access files and folders*
7) Once you are inside the site, Click “Documents”.
8) Copy the URL from the URL address bar. Do not copy the entire URL, only copy to https://name-of-you-domain.Sharepoint.com
Part 2 Internet Options
1) Open Internet options, Click Windows key + S
2) Type “ Internet options”
3) Inside Internet options, Select the Security tab at the top.
4) Click on “Trusted Sites”
5) Click on “Sites” Underneath “Trusted Sites”
6) Paste the URL address inside the “Add this website…” Field.
7) Click “Add”, then close.
Part 3 Microsoft Edge
We will need to configure edge to allow the old internet explore to access that URL address or else the network drive will not work.
1) Open Microsoft Edge,
2) Click on the three dots at the top.
3) Click on “Settings”
4) On the left of the screen, Select “Default Browser”
5) Ensure “Allow sites to be reloaded…” is set to allow.
6) Go back to the SharePoint site from part 1, and copy the link again but this time add the additional information.
7) Go back to Edge, Underneath Allow , Click on “Add”
8) Paste again the URL address.
9) Click on “Add”.
10) In the search bar of edge, paste the same URL Link
1 11) Sign into your Microsoft account
12) If you see the below image then you have done it correct.
Part 3 Network Map
1 1) Open File Explorer, Click Window key + S
2) Type “File Explorer”
3) Right Click “This PC”
4) Paste in the URL address once more in the folder field. Optionally you can choose the Drive Letter.
5) Click Finish and the SharePoint site Document should appear like a Network Drive.
OneDrive: OneDrive Syncing problems
The Article demonstrates how to quit & Re-open OneDrive in-case of any syncing issues.
✔ This often clears stuck sync queues without restarting the whole PC.
1. Right-click the OneDrive cloud icon
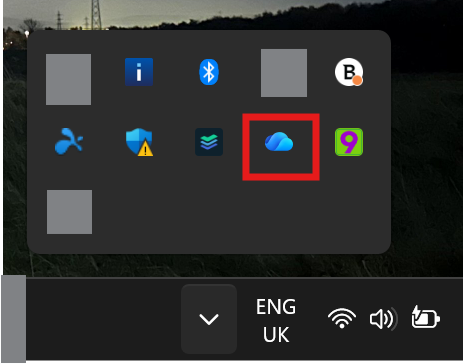
2. Click Quit OneDrive
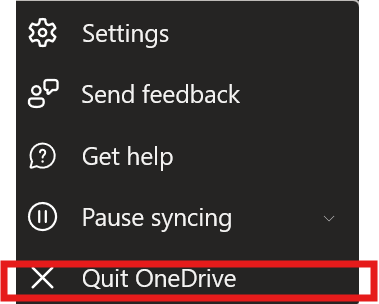
3. Start it again
-
Press Windows Key
-
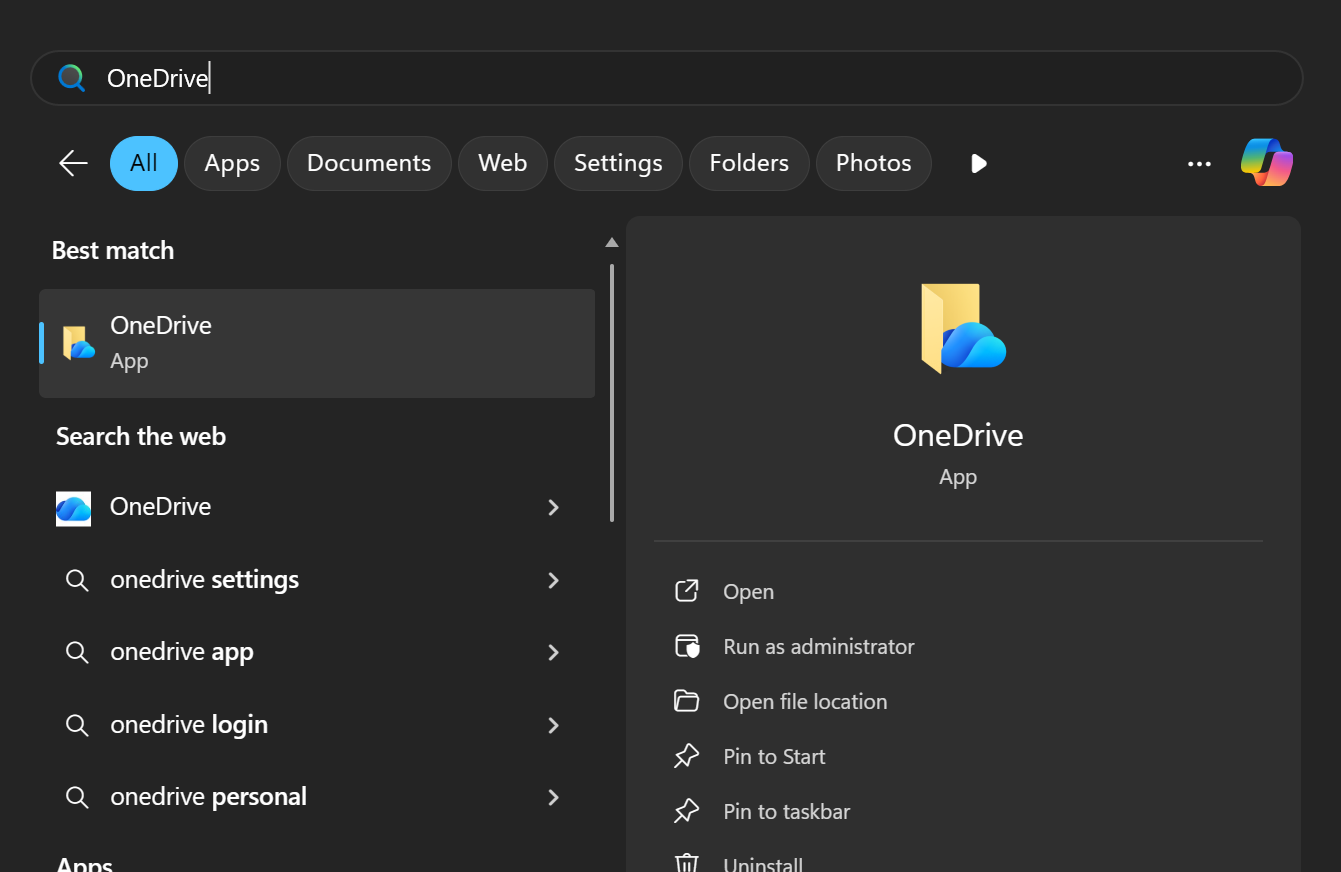
Type OneDrive
-
Open it